How to create email templates using MJML - Step-by-step guide

Although email is an old technology, it's still preserves its popularity. According to a 2017 Zapier blog post:
The number of people using email for team communication is more than 2.5 times higher than team chat apps like Slack.

Email newsletters are great for following the industry, or getting couple of discount codes. I think I have at least 15 subscriptions to different email newsletters.
Yes, email is still popular, but there's a problem that wastes our time. At formcarry, our mission is saving people from wasting time. Creating email templates is a hassle, because there are various email clients, even though email is an old technology and doesn't support a big amount of HTML and CSS features. In general we mostly see that email templates are being created using HTML tables. Often the file is also full of unnecessary code: it's so big that you don't even want to edit it.
Thanks to the Open Source, somebody made a solution for this: MJML
What is MJML?
MJML is made by Mailjet. It's a component based markup language that allows you to create responsive emails blazing fast and easier than ever. When you finish the project, it converts your MJML code to the HTML so you can use it for your projects.
Creating an Email Template with MJML
We will code an email template design using MJML in this blog post.
The Design
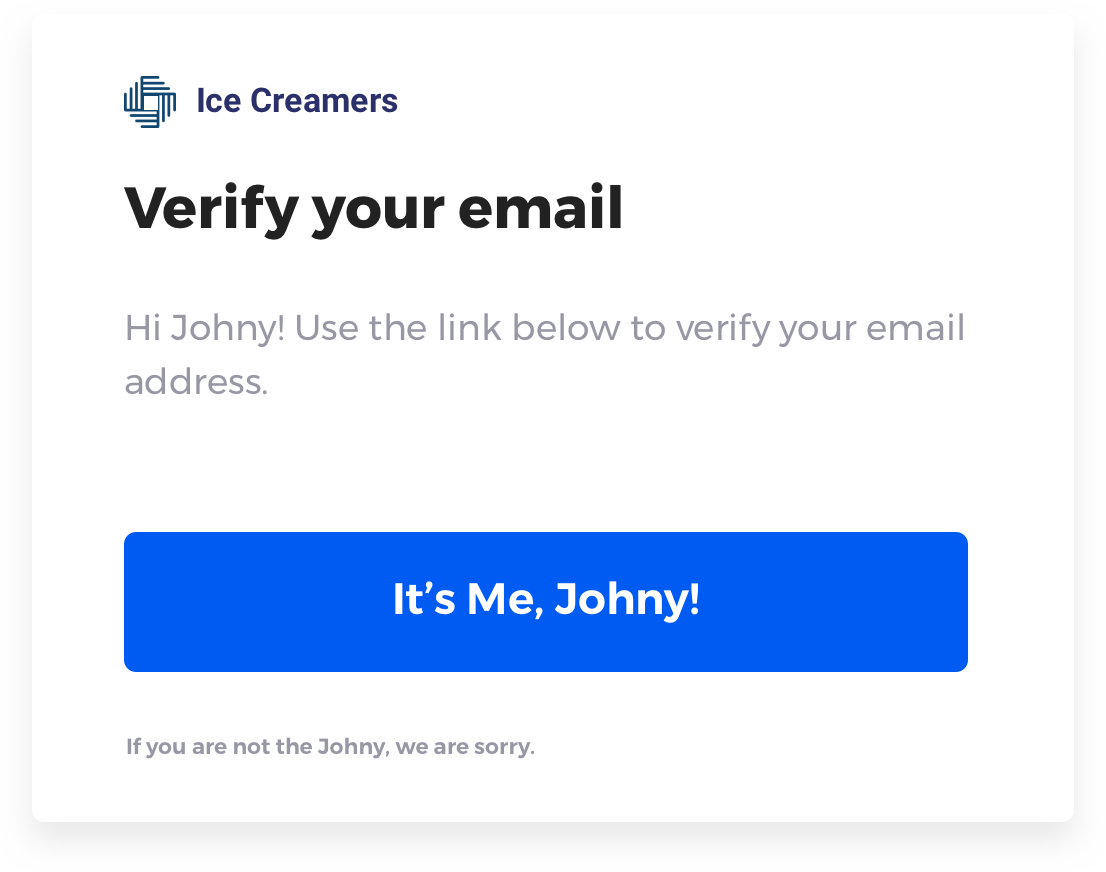
I have designed a minimal email template:
How to install MJML
MJML comes with several installing options for different platforms:
- MJML App - This app is built just for MJML, it has an editor and live preview feature.
- Visual Studio Code plugin - It's also has a live preview feature like the MJML App.
- Atom Plugin - It requires installing more than one package
- Sublime Text Plugin - It's just highlighting the MJML code. (Ohh sublime, you were a legend in the earliest days.)
- Node.js - npm install mjml
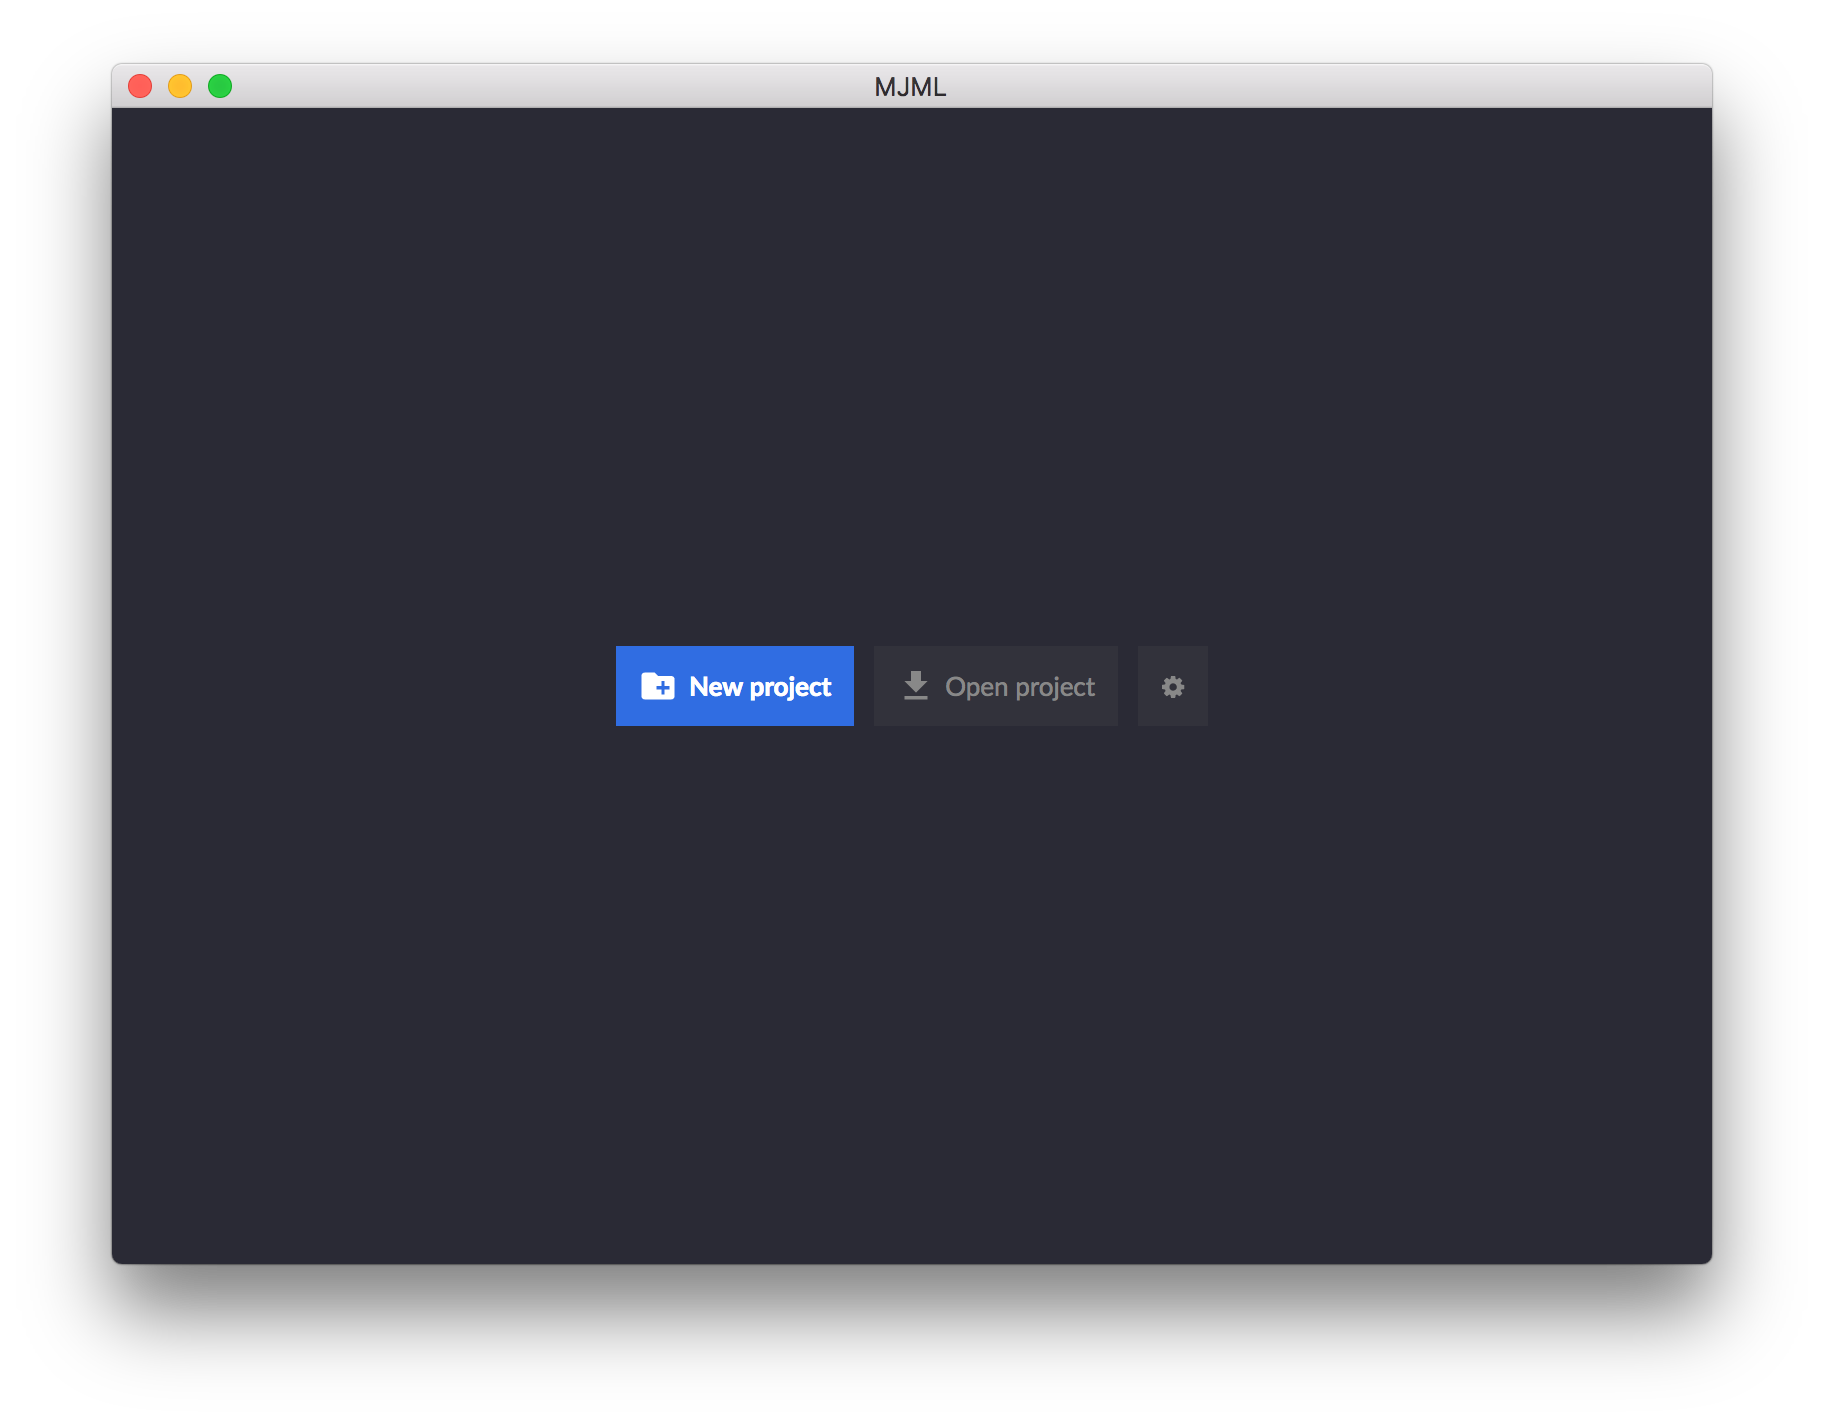
We will stick with the MJML App for this demonstration. When we open the app this screen appears
There were some good features in options, such as minifying the exported code, configuring tab size and creating snippets are the ones I liked. I also recommend you to select the minifying option for exported code, as 27 lines of MJML turns into 296 lines of HTML, and you can leverage this.
Click the New Project, enter the project's name and you'll see this screen:
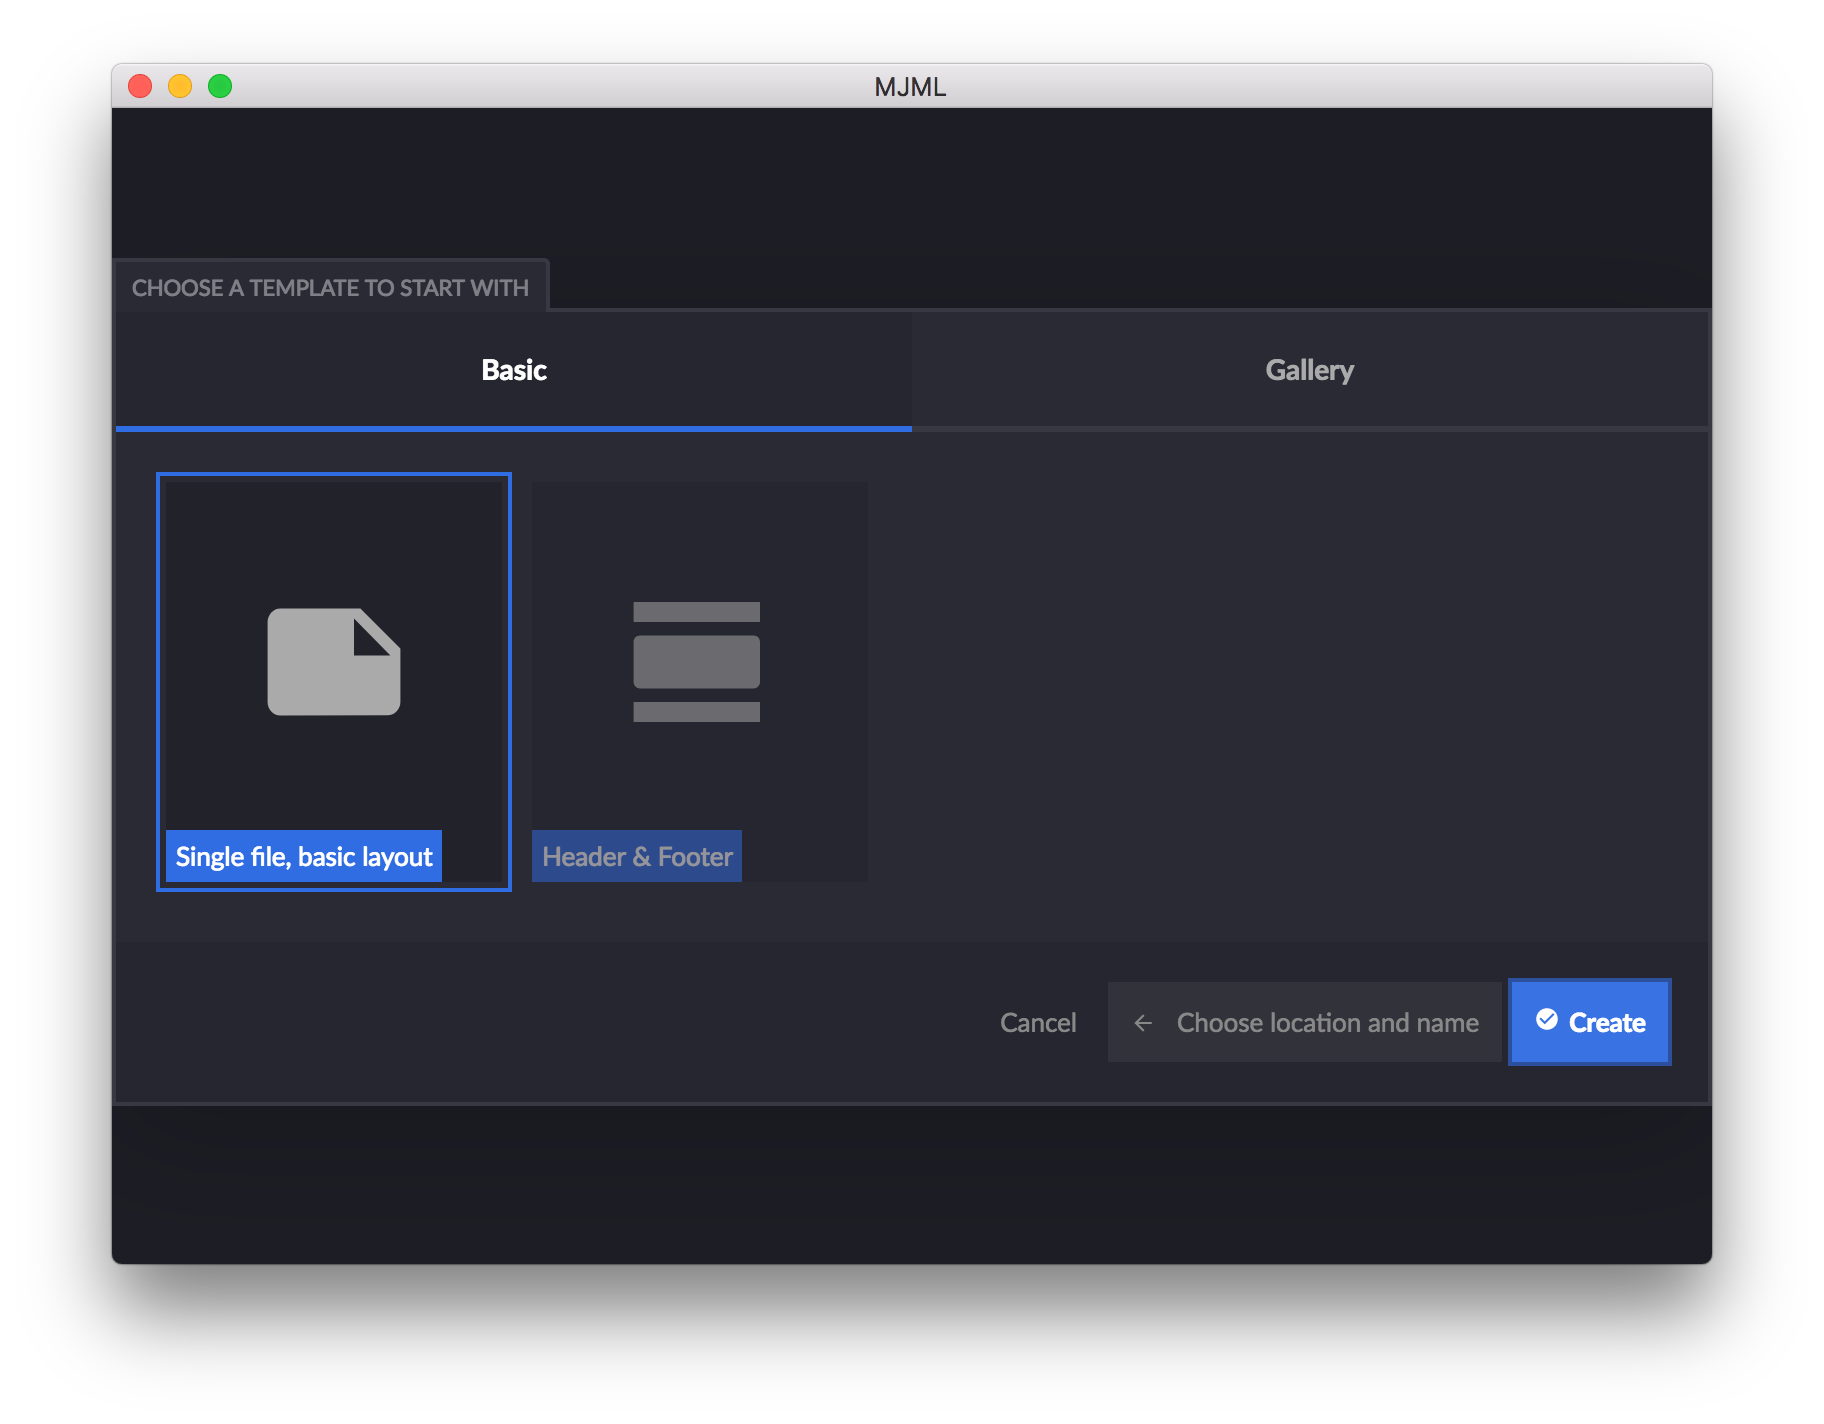
You have options in there: you can go with basic empty layout or you can choose something from the gallery
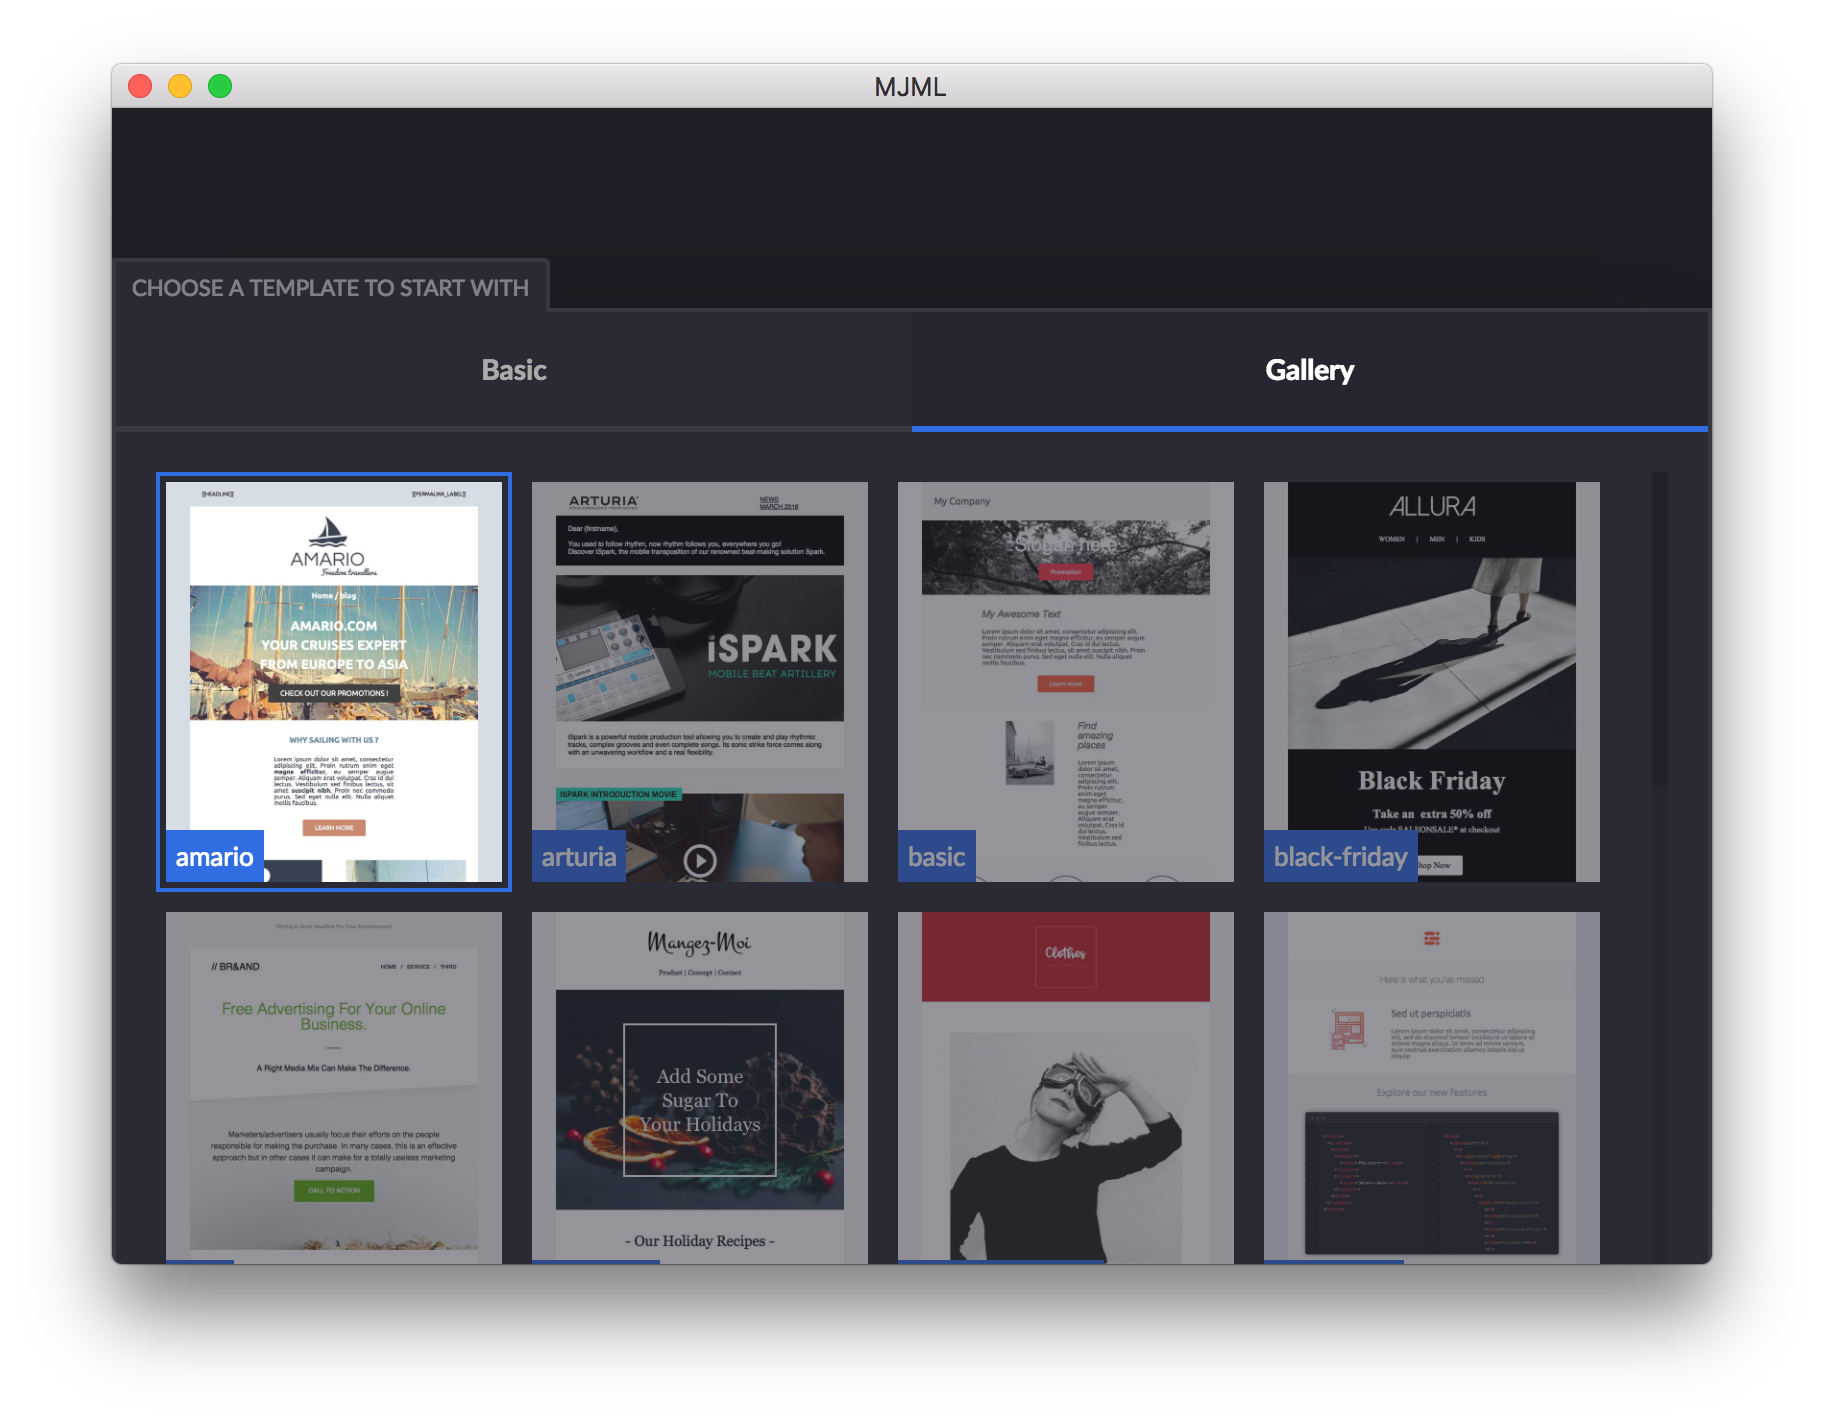
We're going to code it from scratch, so let's go with single file, basic layout.
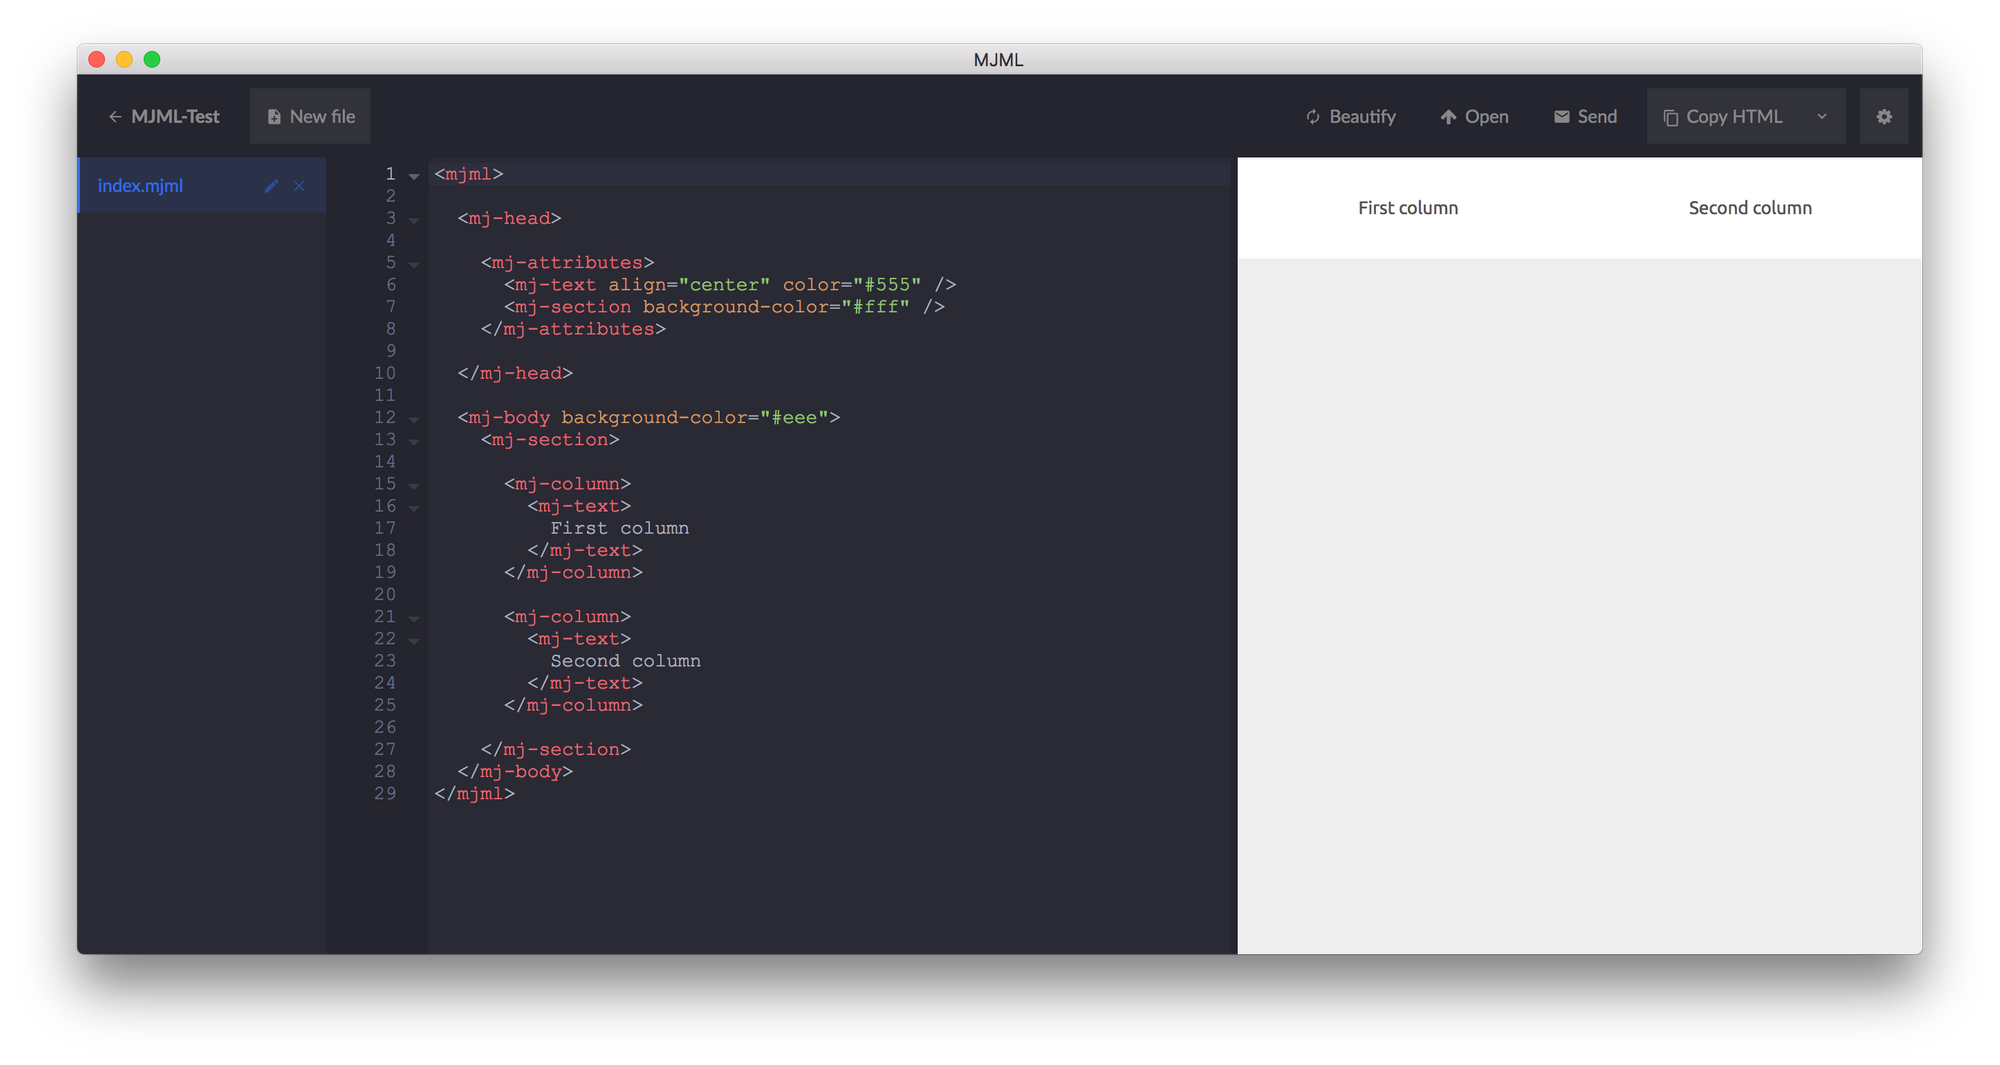
First look
Let's observe the code. It seems there are so many things in common with HTML:
- An HTML file will start with
<html>and end with</html>, MJML is using the same methodology <mj-head></mj-head>is equivalent of<head></head>tags in the HTML, same way the<mj-body></mj-body>is<body></body>- We can define our styles in
<mj-attributes></mj-attributes>just like in the HTML<style></style> - We can give an inline-style like in the HTML, yet while HTML wraps the style attributes in style="" block, MJML uses it directly with property name and value
- mj-section and mj-column is using a grid system. (What is a grid system ?)
After the quick overview, let's code. First of all let's clean the unnecessary codes in our file.
<mjml>
  <mj-head>

  </mj-head>
  <mj-body>

  </mj-body>
</mjml>
A reminder of our design:
I have used the Montserrat font, which is free to use, for this demo. In order to add fonts in MJML, we need to add this code right after the <mj-head>.
<mj-head>
  <mj-font name="Montserrat" href="https://fonts.googleapis.com/css?family=Montserrat:400,500,600,700" />
  <mj-attributes>
    <mj-all font-family="Montserrat" />
  </mj-attributes>
</mj-head>
I also added the mj-attributes for setting Montserrat as the default font for this template.
Now I'm going to export my sample logo and paste it into the MJML project directory.
<mj-hero padding="40px">
  <mj-image align="left" width="138px" src="logo.png"/>
</mj-hero>
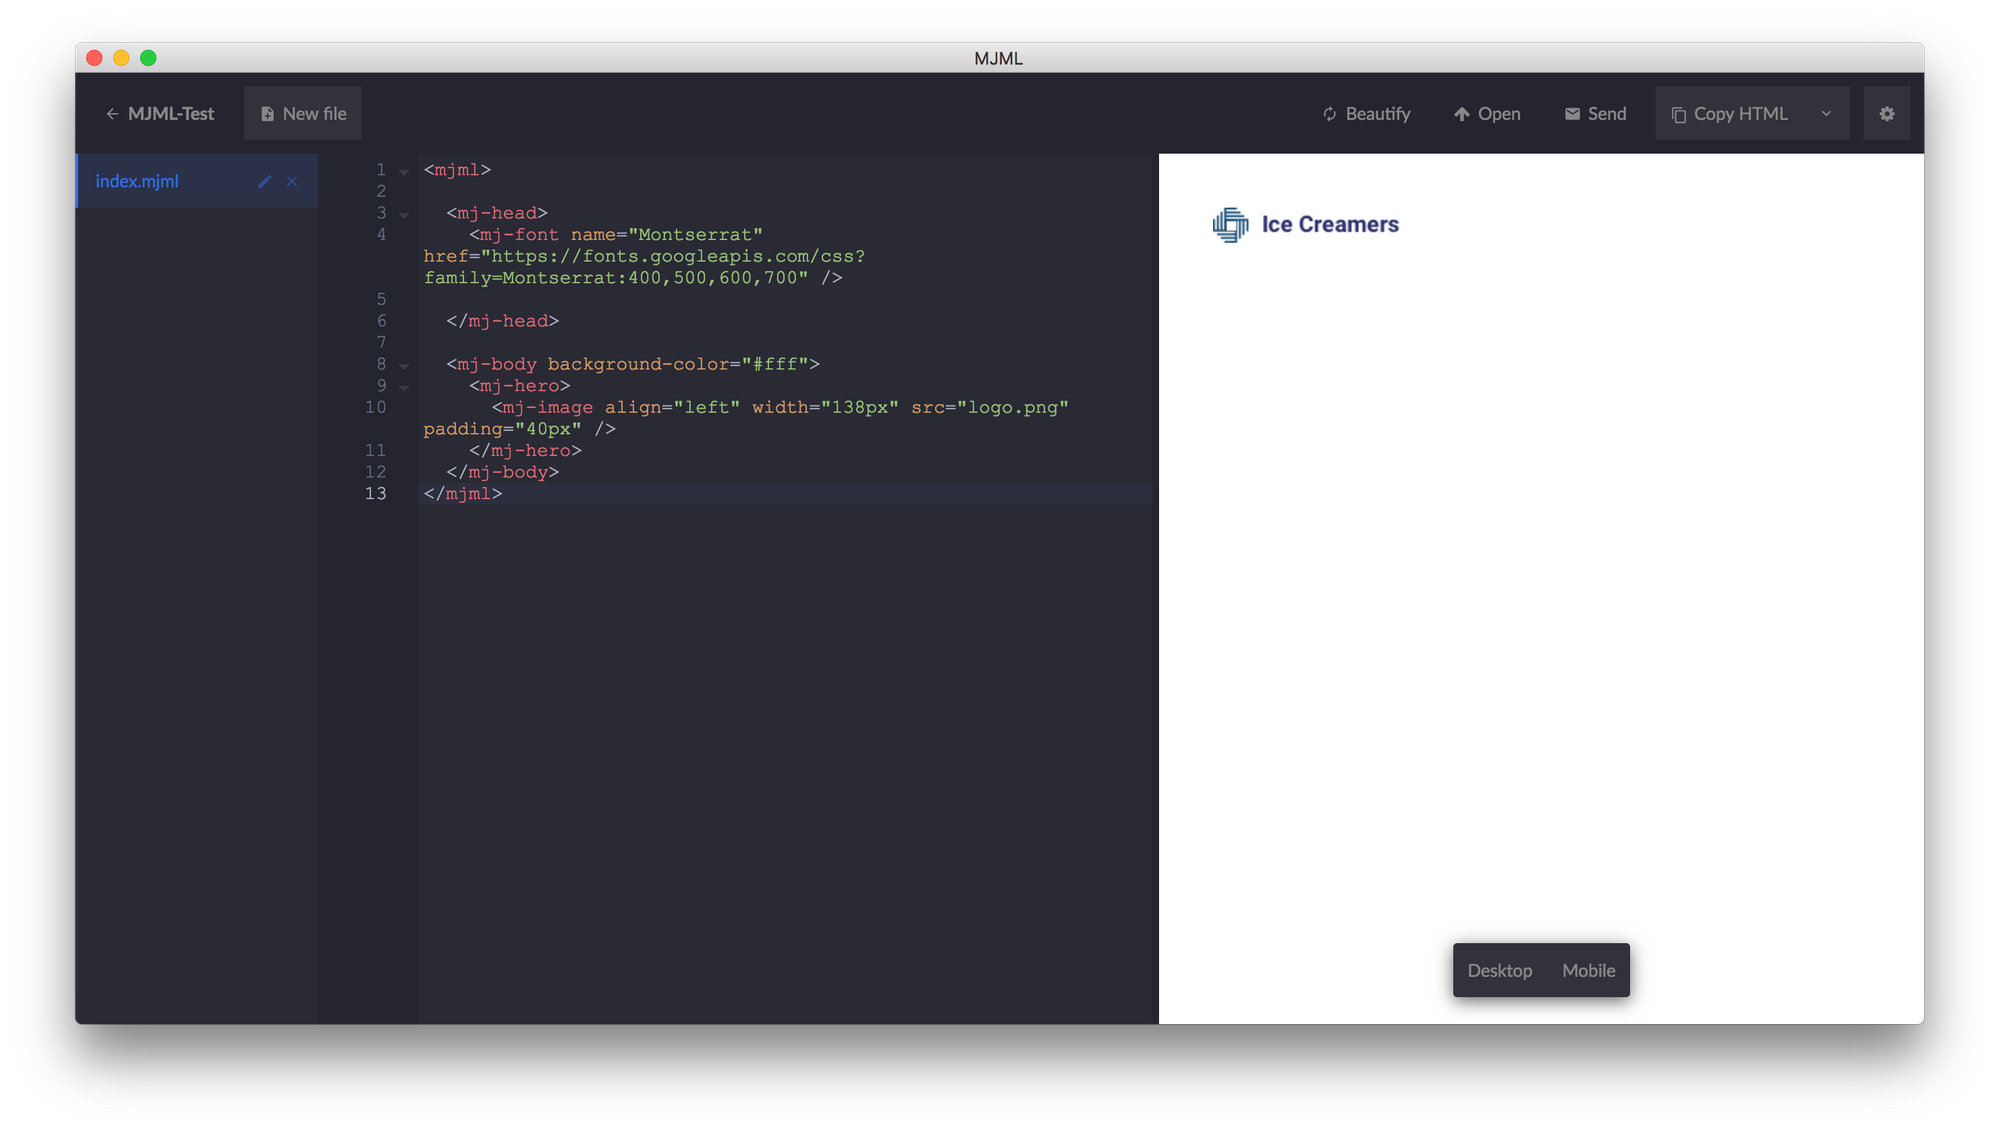
By default images aligned at center, if you want to align it to the left or right, you need to set "align" attribute.
This is how it looks right now:
Then we need 3 text elements and one button; Let's do that, we will use mj-text for texts and mj-button for button and a padding for mj-section
<mj-section padding="40px">

    <mj-column>

        <mj-text>
          Verify Your Email
        </mj-text>

        <mj-text>
          Hi Jhony! Use the link below to verify your email
    address.
        </mj-text>

        <mj-button>
            It's Me, Jhony!
        </mj-button>

        <mj-text>
          If you are not the Johny, we are sorry.
        </mj-text>

    </mj-column>

</mj-section>
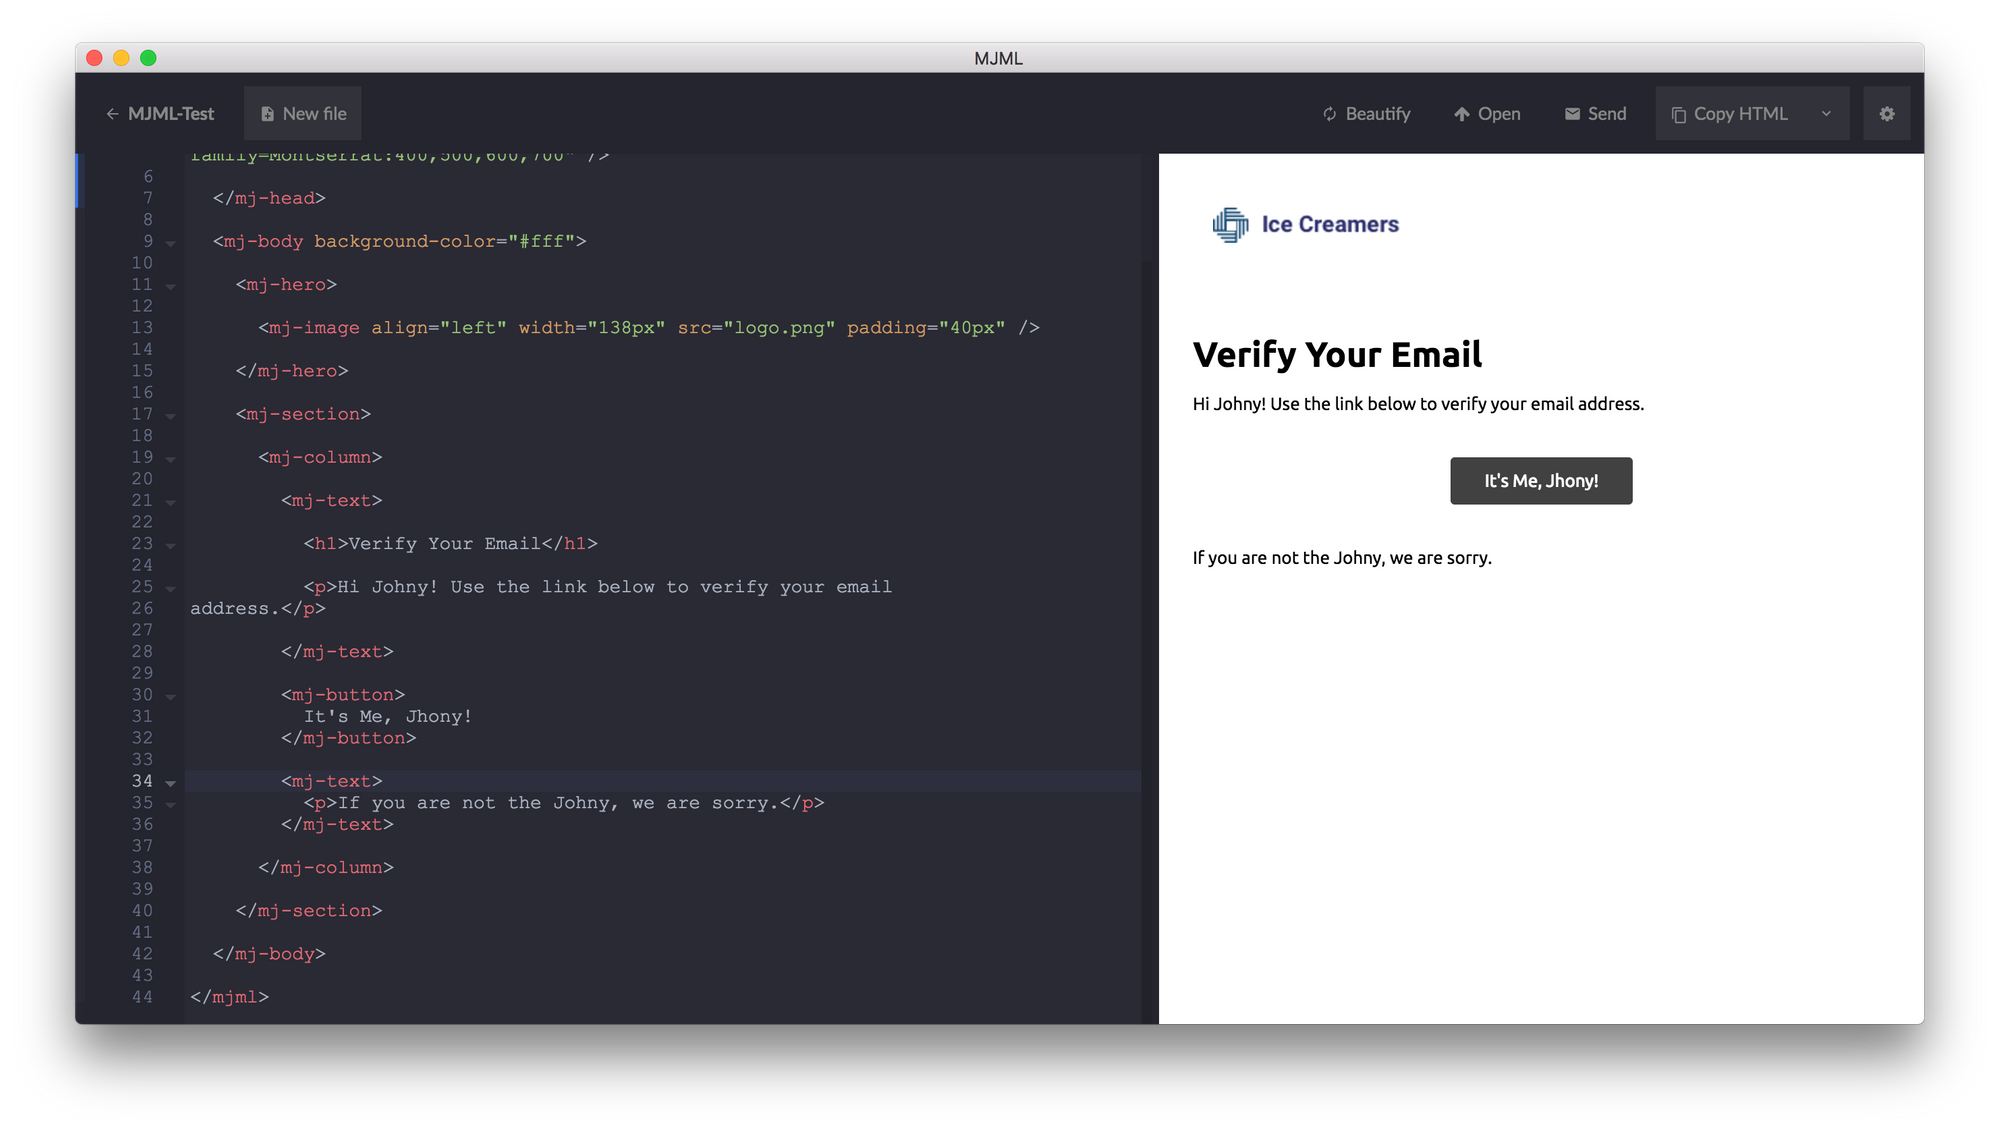
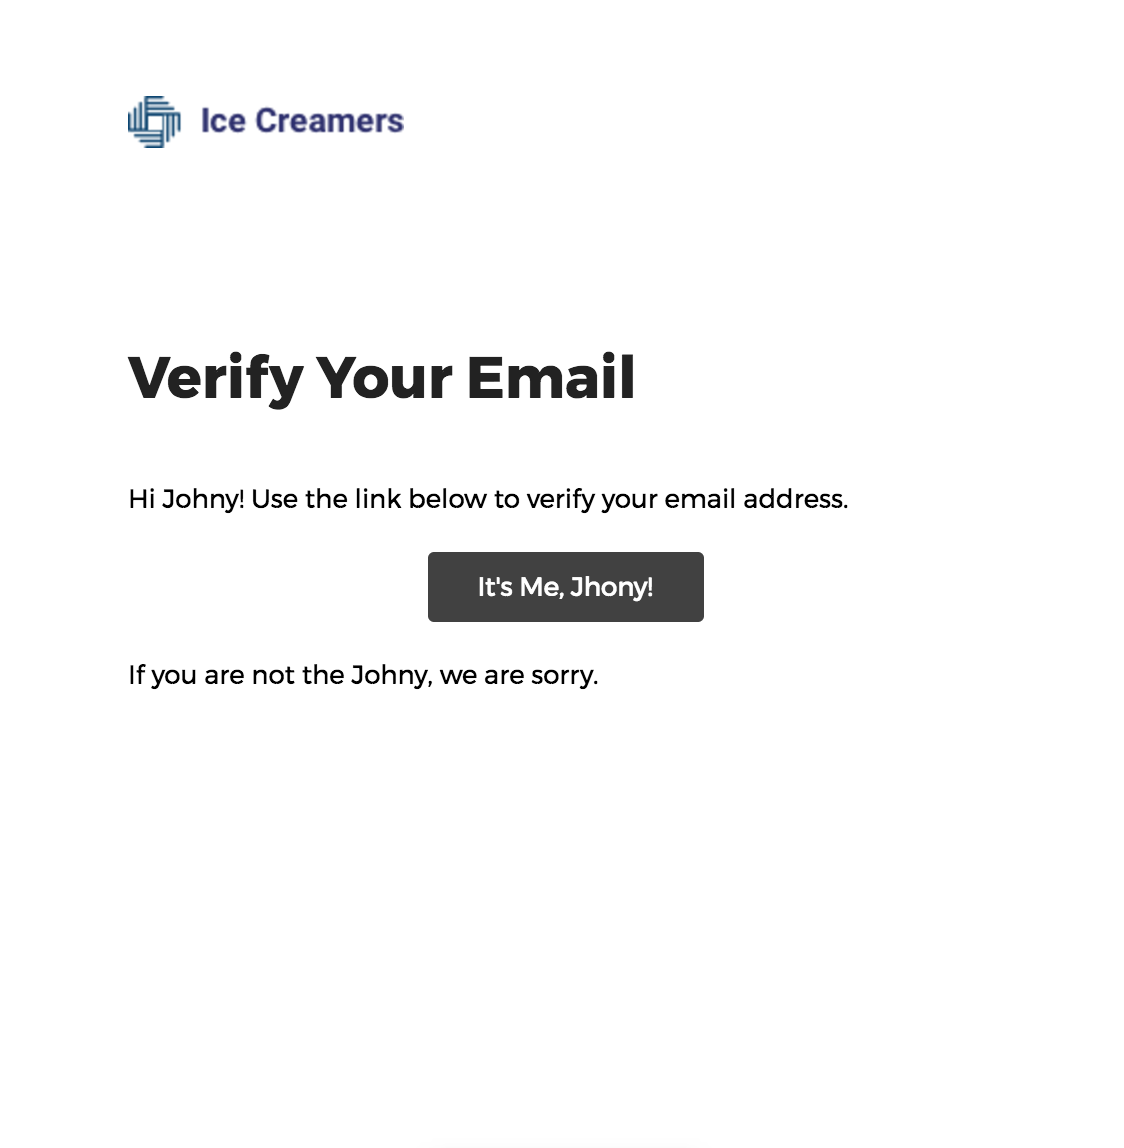
How it looks:
Now we need to style that and finish our example. We just have to use CSS attributes in mj-text and mj-button elements.
<mj-text font-size="29px" font-weight="700" color="#222222" padding-bottom="30px">
    Verify Your Email
</mj-text>
Now style the paragraph and the notice text.
<mj-text font-size="18px" color="#9798A4" font-weight="400" line-height="27px" padding-bottom="60px">
  Hi Jhony! Use the link below to verify your email
address.
</mj-text>
...
<mj-text font-size="11px" color="#9798A4" font-weight="500" padding-top="30px">
      If you are not the Jhony, we are sorry.
</mj-text>
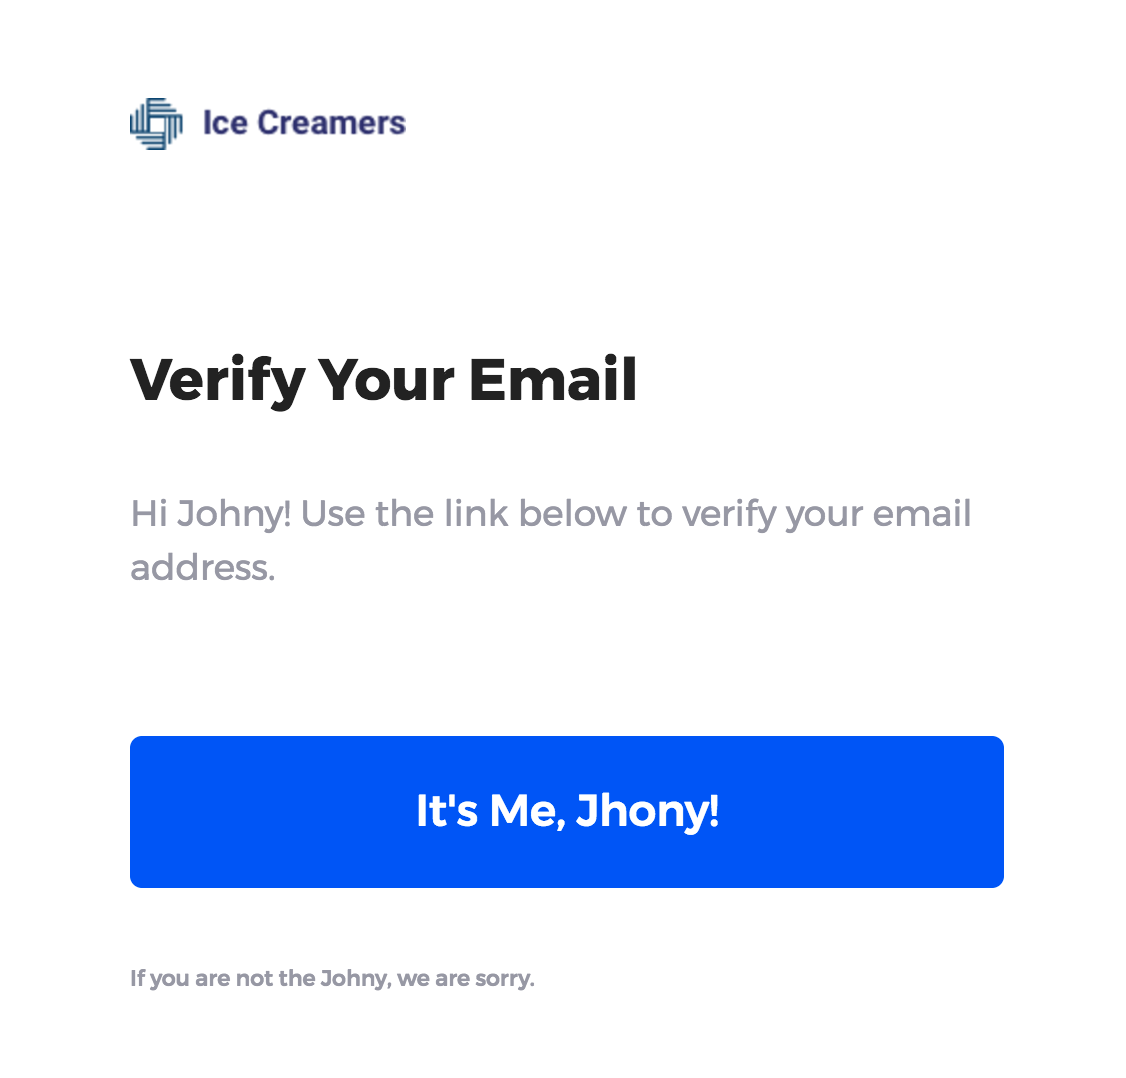
How it looks:

We just have to style our button right now; let's do it.
<mj-button href="#" width="100%" inner-padding="25px" border-radius="6px" background-color="#005BF2" font-size="22px" font-weight="500" color="#fff">
      It's Me, Jhony!
</mj-button>
Looks perfect:
Without the spaces, this is only 22 lines of code, yet when we transform it to the HTML it becomes 296 lines of code (unminified).
We can export our file in the dropdown menu. Click to the down arrow to open it.

Looks perfect. If you want to dive deeper you can take a look at MJML Documentation