How to create a simple HTML contact form from scratch


In this guide I’m going to show you how to create a HTML contact form that sends you an email by bare minimum code.
Collecting form submissions is an essential part of any business. There are drag-and-drop form builders, but sometimes you might want to use just your HTML form. Let's get started!
You can scroll down to see HTML code for contact form👇 on front-end, followed by the PHP code for processing form data👇 that delivers your form to email.
Table of contents:
- HTML Form Code
- CSS Style Code
- Form Processing Code
- Option 1: Form processing with PHP
- Option 2: Form processing using Form Backend
- HTML Label Field
- HTML Text Field
- HTML Textarea Field
- HTML Email Field
- HTML Telephone Field
- HTML Date Field
- HTML Password Field
The form we’re building is very simple, if you want to achieve advanced features like file upload or spam protection please take a look at our file upload form ↗️
Already have a HTML form and not much time? We offer spam protection, google sheets integration, and email notifications for free at formcarry ↗️
Create a Simple HTML Contact Form
Copy and paste this code to your HTML page, this is going to be the base of our form.
<!DOCTYPE html>
<html lang="en">
  <head>
    <meta charset="UTF-8" />
    <meta name="viewport" content="width=device-width, initial-scale=1.0" />
    <meta http-equiv="X-UA-Compatible" content="ie=edge" />
    <title>Contact Form</title>
    <!-- Form styling -->
    <link rel="stylesheet" href="formcarry-form.css" />
  </head>
  <body>
    <div class="formcarry-container">
      <form action="#" method="POST" class="formcarry-form">
        <label for="name">Your Name</label>
        <input type="text" id="name" name="fullName" required />

        <label for="email">Your Email Address</label>
        <input type="email" id="email" name="email" required />

        <label for="message">Your Message</label>
        <textarea name="message" id="message" cols="30" rows="10"></textarea>

        <button type="submit">Send</button>
      </form>
    </div>
  </body>
</html>CSS codes for your HTML form
File name: formcarry-form.css (Please save using exact name)
Paste this code to make styling work
@import url("https://fonts.googleapis.com/css2?family=Inter:wght@400;700&display=swap");

/*
  CONTACT FORM EXAMPLE FOR FORMCARRY

  IMPORTANT NOTE:
  PLEASE ADD formcarry-form class to your form element
  to apply the styles.
*/

.formcarry-container * {
  box-sizing: border-box;
	font-family: "Inter", sans-serif;

  /* colors */
  --color-blue: #2552d0;
  --color-light-blue: #3266e3;
  --color-gray: #e5e7eb;
  --color-dark-gray: #9da3ae;
  --color-pink: #edadd2;
}

.formcarry-container {
  /* container */
  --c-width: 50%;
  --c-max-width: 500px;

  width: var(--c-width);
  max-width: var(--c-max-width);
  display: block;
  margin: 10vh auto 0 auto;
}

.formcarry-form label {
  display: block;
  padding: 12px 0 2px 0;
  letter-spacing: -0.2px;
  cursor: pointer;
  font-size: 16px;
  font-weight: 700;
}

.formcarry-form input,
.formcarry-form textarea {
  font-size: 16px;
  display: block;
  width: 100%;
  padding: 10px;
  background-color: var(--color-gray);
  border: none;
  border: 4px solid var(--color-gray);
  outline: none;
  border-radius: 8px;
  color: var(--color-dark-gray);
}

.formcarry-form input:focus,
.formcarry-form textarea:focus {
  background-color: #fff;
  color: var(--color-dark-gray);
}

.formcarry-form input:focus:required:invalid {
  border-color: var(--color-pink);
  background-color: #fff;
}

.formcarry-form button {
  display: block;
  margin-top: 12px;
  width: 100%;
  padding: 12px 20px;
  border-radius: 8px;
	border-color: transparent;
  background-color: var(--color-blue);
  color: #fff;
  font-weight: 700;
  font-size: 18px;

  transition: 300ms all;
}

.formcarry-form button:hover {
  background-color: var(--color-light-blue);
}

.formcarry-alert {
  padding: 12px;
  border-radius: 10px;
  color: #fff;
  font-size: 14px;
  font-weight: 400;
  margin-top: 12px;
  display: none;
}

.formcarry-alert.visible {
  display: block;
}

.formcarry-alert.success {
  background: #69cf9d;
}

.formcarry-alert.error {
  background: #de524c;
}
Bonus: Free HTML5 Contact Form Generator
We have created a form generator that you can use to build your own contact forms and completely customize it with your brand or website's color scheme and design style. They are free to download and can be used on your personal or commercial projects.
Click here to check out our free form generator ↗️
Option 1: HTML Form Processing with PHP
First replace the # with form-process.php like below
<!-- Replace this -->
<form action="#" method="POST" class="formcarry-form">
<!-- With this -->
<form action="form-process.php" method="POST" class="formcarry-form">
Why? because action part of the form element tells your browser to where to send form data, in this case we need to point our form data to form-process.php
Then create a file called: form-process.php (should be exact name)
<?php
if (isset($_POST['email'])) {
// REPLACE THIS 2 LINES AS YOU DESIRE
$email_to = "you@awesomecompany.com";
$email_subject = "You've got a new submission";
function problem($error)
{
echo "Oh looks like there is some problem with your form data: <br><br>";
echo $error . "<br><br>";
echo "Please fix those to proceed.<br><br>";
die();
}
// validation expected data exists
if (
!isset($_POST['fullName']) ||
!isset($_POST['email']) ||
!isset($_POST['message'])
) {
problem('Oh looks like there is some problem with your form data.');
}
$name = $_POST['fullName']; // required
$email = $_POST['email']; // required
$message = $_POST['message']; // required
$error_message = "";
$email_exp = '/^[A-Za-z0-9._%-]+@[A-Za-z0-9.-]+\.[A-Za-z]{2,4}$/';
if (!preg_match($email_exp, $email)) {
$error_message .= 'Email address does not seem valid.<br>';
}
$string_exp = "/^[A-Za-z .'-]+$/";
if (!preg_match($string_exp, $name)) {
$error_message .= 'Name does not seem valid.<br>';
}
if (strlen($message) < 2) {
$error_message .= 'Message should not be less than 2 characters<br>';
}
if (strlen($error_message) > 0) {
problem($error_message);
}
$email_message = "Form details following:\n\n";
function clean_string($string)
{
$bad = array("content-type", "bcc:", "to:", "cc:", "href");
return str_replace($bad, "", $string);
}
$email_message .= "Name: " . clean_string($name) . "\n";
$email_message .= "Email: " . clean_string($email) . "\n";
$email_message .= "Message: " . clean_string($message) . "\n";
// create email headers
$headers = 'From: ' . $email . "\r\n" .
'Reply-To: ' . $email . "\r\n" .
'X-Mailer: PHP/' . phpversion();
@mail($email_to, $email_subject, $email_message, $headers);
?>
<!-- Replace this as your success message -->
Thanks for contacting us, we will get back to you as soon as possible.
<?php
}
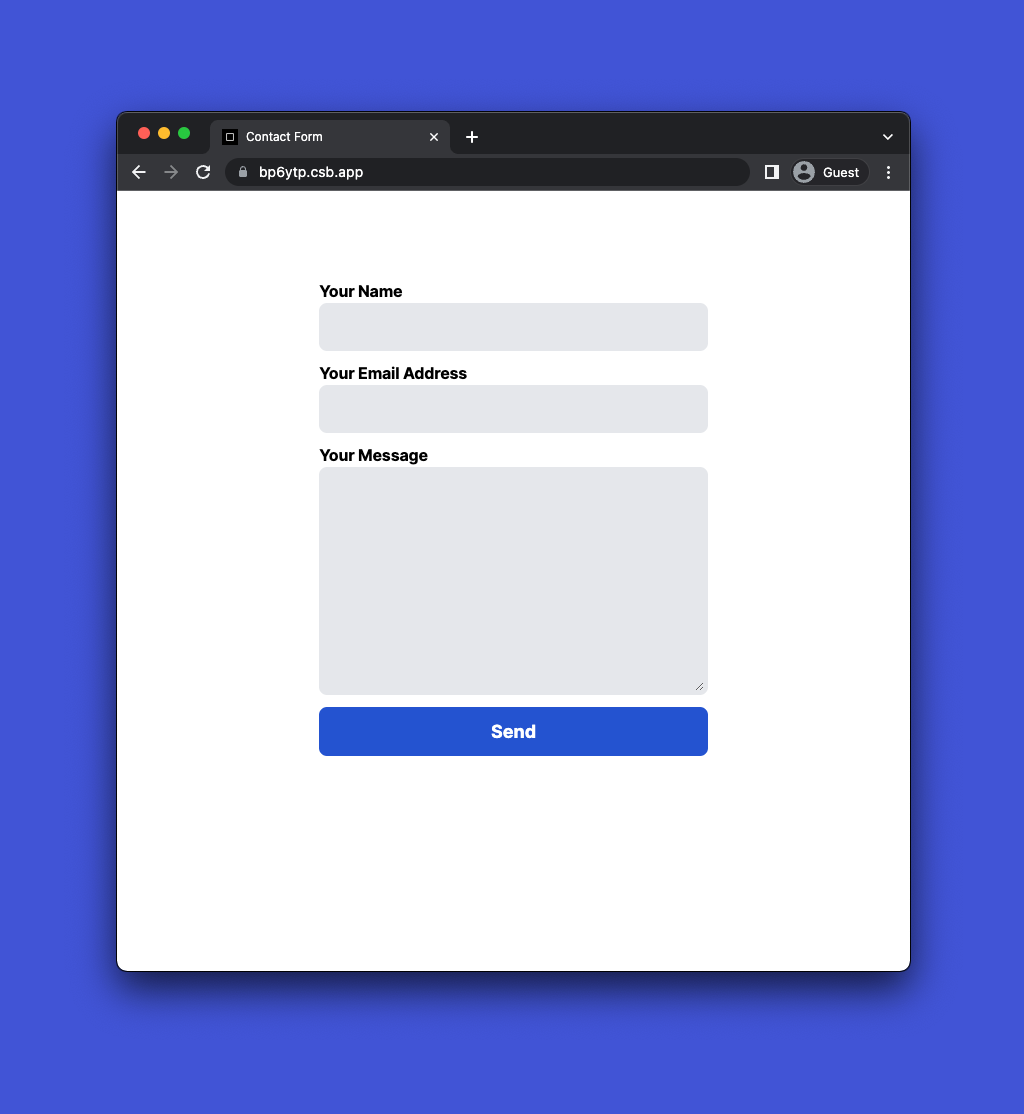
?>This is how your form supposed to look like:
While this will create a working HTML form that sends you an email, you need to be aware of:
- No spam protection: spam submissions can be 90% of the total submissions if there is no protection in-built which takes time to implement and improve.
- Emails can land into the spam folder: you need to check your SMTP server health regularly, your server might crash and you won’t notice it for a long time, which can cost very bad for your business.
- File upload takes time to implement: In case you need to upload files from your form, be aware that implementation of it takes a lot of time, and creates a lot more complexity and security concerns to deal with.
Option 2: HTML form processing with Formcarry
If you need more functionalities from your form, you need to deal with the complexity that comes with it. If you want to make a working simple HTML contact form backend without PHP, we have the solution.
Try our product formcarry ↗️ for free which can be a perfect solution for you, it works with your own HTML code, you just need to change your form action attribute.
Create a form in formcarry
Create an account ↗️ then create a form like below

Integrate your HTML form
Copy your form endpoint by clicking copy clipboard button, then change your HTML form code that we used above.
<!-- Replace this -->
<form action="#" method="POST" class="formcarry-form">
<!-- With this -->
<form action="{PASTE YOUR FORM ENDPOINT HERE}" method="POST" class="formcarry-form">
That’s all you need to process your form now
Try your form
Just by changing your action attribute, you can achieve:
- 3 different thank you page ↗️ for your form.
- Email notifications ↗️ for new submissions
- Auto-responses ↗️ for your submitters
- A dashboard that you can sort, filter and export your form data
- Easy file uploads ↗️
- Integrations with Google Sheets and 1000+ other apps ↗️
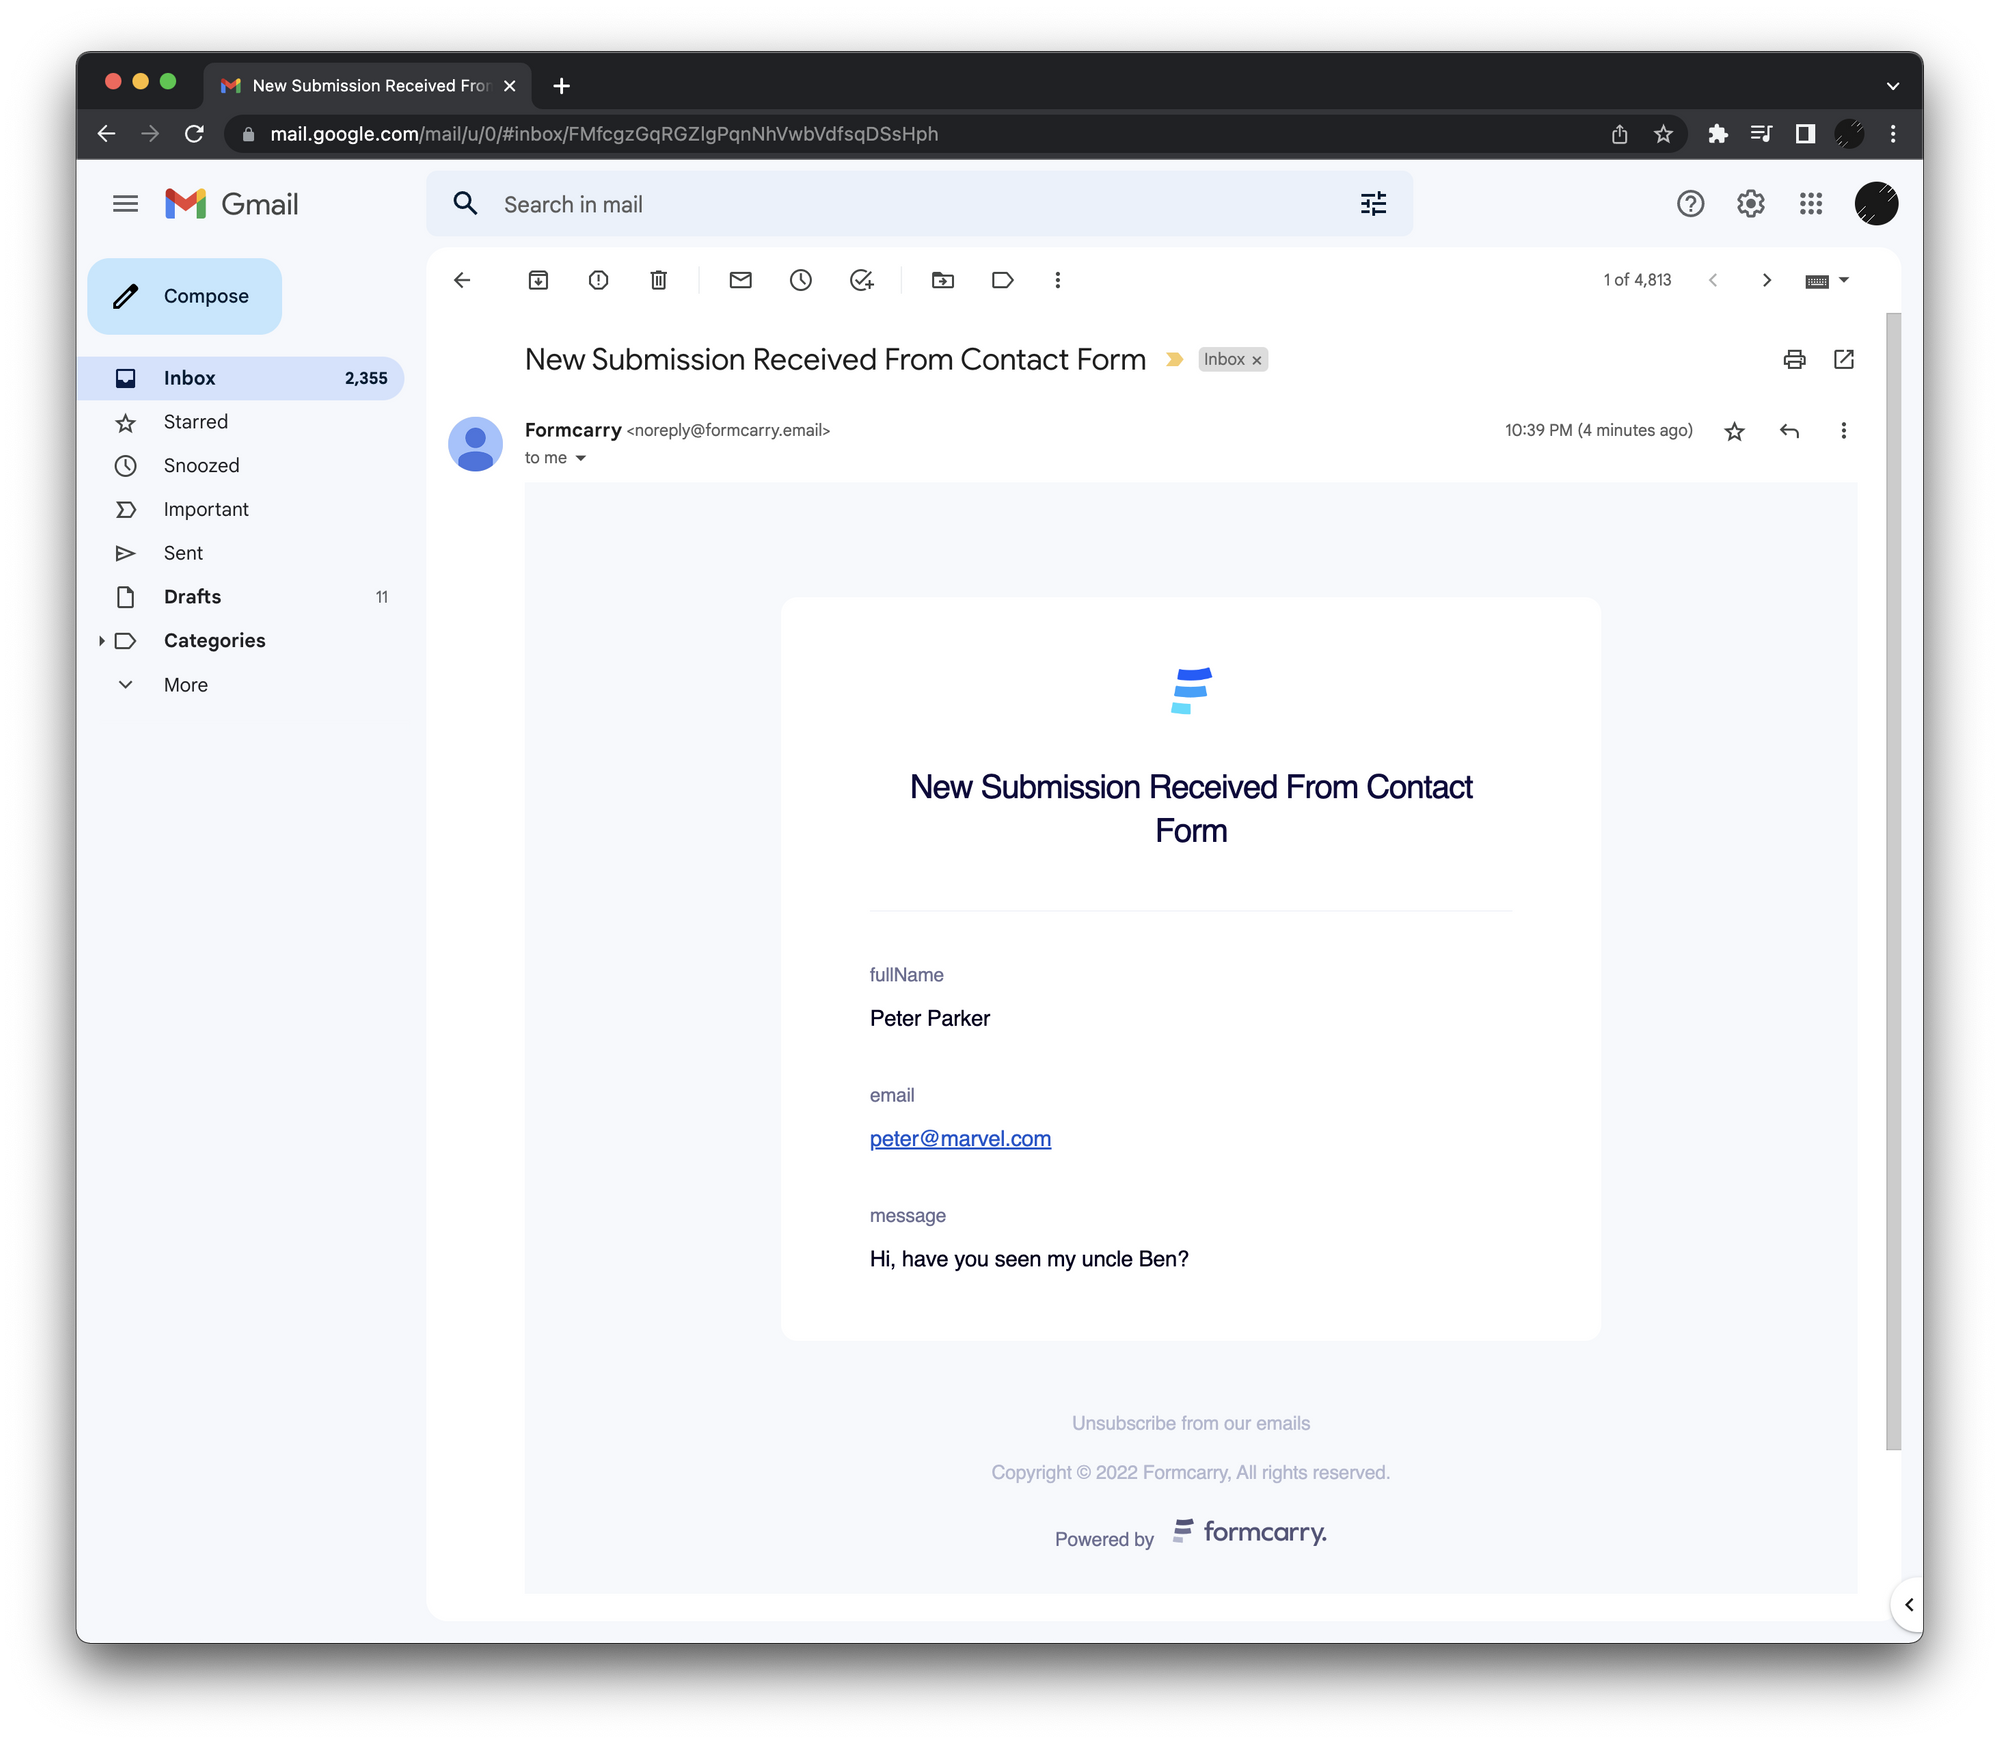
Take a look at your dashboard and you’ll see your new submission:
Also email notification for the new submission, which you can add as many emails as you like from the self email notification settings.
Creating a working form with formcarry less than 2 minutes, and it’s free up to 100 submissions per month.
HTML Form Field examples
It's possible for you to ask which HTML element is used to create an HTML form for user input? Let us show you the fields that you can use in your form, just copy and paste the codes below.
HTML Label Field
Label field is the text that’ll focus to the desired form element on click, to target a field you need to give target element id inside the label elements for attribute like this:
<!-- insert the ID of target element inside the for attribute -->
<label for="myElement">Focus to the field</label>
<!-- give an ID attribute to the target element so label can work -->
<input id="myElement" type="text" />
HTML Text Field
Text field is the most used form field on the web, this is widely used for short texts.
<label for="name">Text Field</label>
<input type="text" id="name" name="fullName" />
HTML Textarea Field
Textarea is like text field but it’s for much bigger content, like messages.
<label for="message">Textarea Field</label>
<textarea type="text" id="message" rows="5" cols="5" name="message"></textarea>
rows and cols attributes allow you to specify width and height of textarea yet you can always manipulate that using CSS.
HTML Email Field
Some HTML fields have built in validations, Email input is one of them, it will complain unless you enter a valid email address, and it won’t let you submit.
<input type="email" />
Try to submit by entering normal text, the field will warn you that it requires a valid email address
Notice how input border color reacts to validity of your input, until you enter a valid email address you’ll see a red color, I’ve implemented this for demo purposes so that’s not the default behavior.
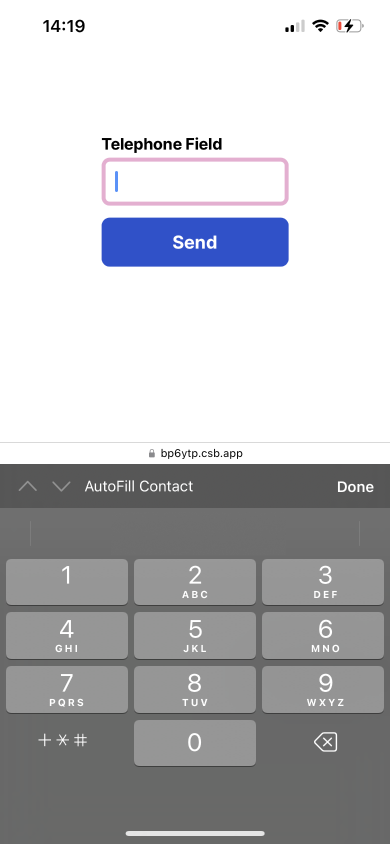
HTML Telephone Field
You specify a number pattern with telephone field, and it will complain unless you enter phone number through the pattern you have specified.
<input type="tel" pattern="[0-9]{3}-[0-9]{2}-[0-9]{3}" />
Tel field also shows num pad on mobile devices.
HTML Date Field
Date field is very handy most of the time, because it’s a native type all devices will show some sort of date selector to the user, you can specify minimum and maximum ranges for dates to be chosen.
<input type="date" value="2022-10-29" min="2022-01-01" max="2022-12-31" />

HTML Password Field
Password field is normal text field but the difference is the value you entered will be masked with asterisks to hide sensitive information.
<input type="password" />