How to upload files from your HTML form using Base64 encoding


Uploading files using Base64 encoding is a common practice, the usage of the technique has been increased since React and Vue.js like frameworks gained popularity.
In this guide I'm going to show you how to upload files using base64 encoding
What's Base64 Encoding?
Base64 is a encoding algorithm that allows you to transform any characters into an alphabet which consists of Latin letters, digits, plus, and slash. You can convert images into a “readable” string, which can be saved or transferred anywhere.
To understand it better I recommend you to take a look at that wonderful article from base64.guru and What is Base64 Encoding by Akshay Kumar
What's Data URI?
We can't just send the Base64 string to our server and process it, what makes it different than any other string? How do you know the file is a image or PDF file? That's where Data URI comes in.
Data URI or Data URL is a format that we can use some data as an inline string. In order to process our Base64 data in server we need to know the mime type (which can be tricked), which Data URI format provides this.
This is the Data URI or Data URL format:
data:[<mime type>][;charset=<charset>][;base64],<encoded data>
For example this a Base64 string wrapped as a Data URI:
<img src="data:image/jpeg;base64,/9j/4AAQSkZJRgABAQAAAQABAAD/2wCEAAoHCBUWFRgVFRYZGRgZHBgYGBwYGhgYGBoYGBgaGhoZGBgcIS4lHB4rIRgYJjgmKy8xNTU1GiQ7QDs0Py40NTEBDAwMEA8QHBISGjQh...3000 more characters" />
The output:

Live demo
Try it yourself! Choose a file and see base64 encoding of it.
DATA (choose a file to see):
Wanna play with it? Use our CodeSandbox Example
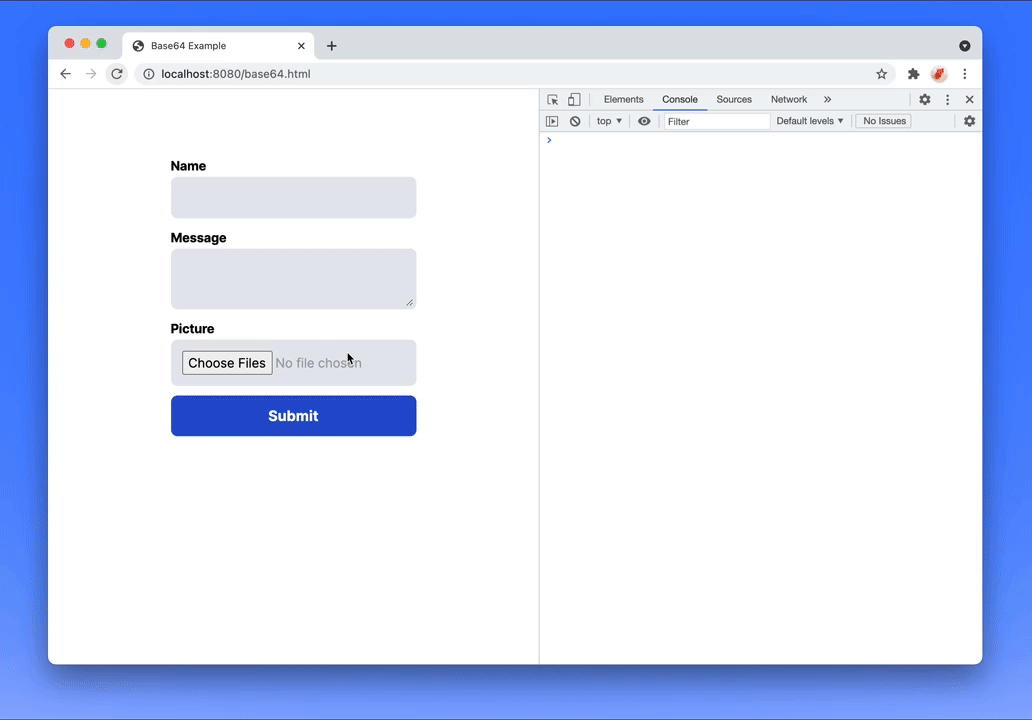
Create your HTML Form
Let's create a very simple form, we are going to handle it with Javascript
<form id="formcarryForm">
 	<label for="nameInput">Name</label>
 	<input type="text" id="nameInput" />

	<label for="messageInput">Message</label>
 	<textarea id="messageInput" cols="30" rows="2"></textarea>

	<input type="file" id="pictureInput" />

  	<button type="submit">Submit</button>
</form>
Update 6 Jan, 2023:
We have built free form generator tool that you can customize and get HTML code, make sure you check it out if you need form template.
Add your Javascript code
In order to upload files as Base64, we need to listen the change event of our file input, and the process is async so we need to hold some state to determinate whether we can submit the form or not.
Let's start with our file input.
const fileInput = document.getElementById('pictureInput')

// This is for storing the base64 strings
let myFiles = {}
// if you expect files by default, make this disabled
// we will wait until the last file being processed
let isFilesReady = true

fileInput.addEventListener('change', async (event) => {
  const files = event.srcElement.files;

  console.log(files)
})
We are going to use isFilesReady later to check if the async process has been completed or not, it's true by default because there are no files in the input when the page loads, if you want to make it required you can change it to isFilesReady = false
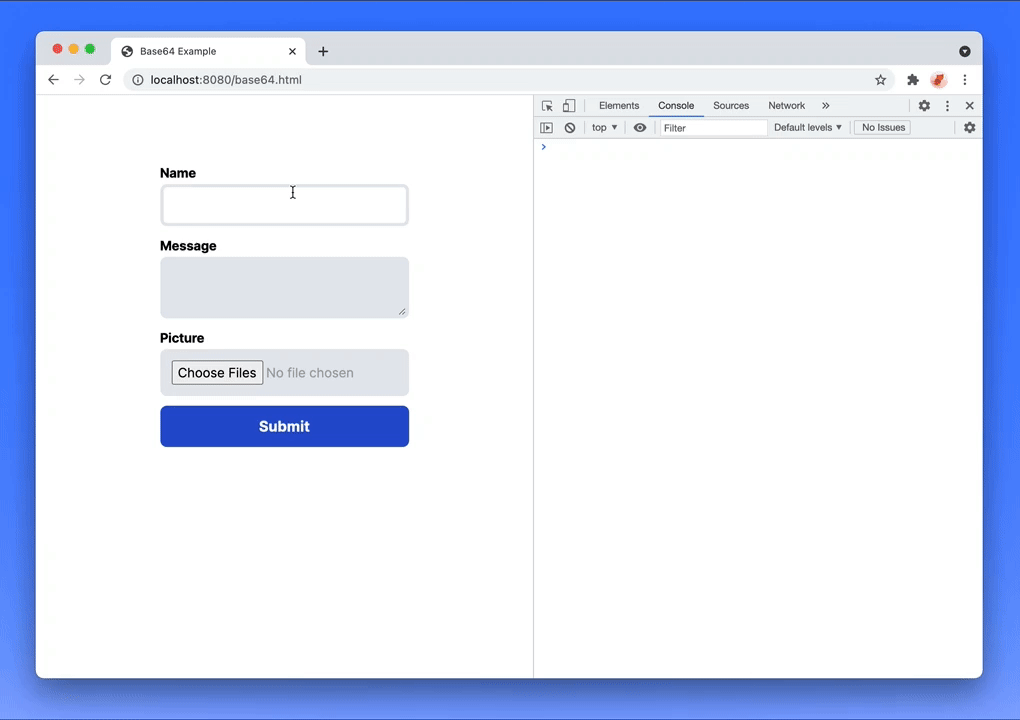
Let's try what happens:
As you can see, we can access our files, now it's time for the fun part.
Converting input file to base64 string
We are going to use native FileReader API to read files from the input
fileInput.addEventListener('change', async (event) => {
  // clean up earliest items
  myFiles = {}
  // set state of files to false until each of them is processed
  isFilesReady = false

  const files = event.srcElement.files;

  const filePromises = Object.entries(files).map(item => {
    return new Promise((resolve, reject) => {
      const [index, file] = item
      const reader = new FileReader();
      reader.readAsBinaryString(file);

      reader.onload = function(event) {
        // handle reader success

        resolve()
      };

      reader.onerror = function() {
        console.log("couldn't read the file");
        reject()
      };
    })
  })

  Promise.all(filePromises)
    .then(() => {
      // if each file processed successfuly then set our state to true
      isFilesReady = true
    })
    .catch((error) => {
      console.log(error)
      console.log('something wrong happened')
    })
})
Now we can access FileReader data using event.target.result but we need to transform it to Base64 string, let's do that:
fileInput.addEventListener('change', async (event) => {
  // clean up earliest files
  myFiles = {}
  // set state of files to false until each of them is processed
  isFilesReady = false

  const files = event.srcElement.files;

  const filePromises = Object.entries(files).map(item => {
    return new Promise((resolve, reject) => {
      const [index, file] = item
      const reader = new FileReader();
      reader.readAsBinaryString(file);

      reader.onload = function(event) {
        // Convert file to Base64 string
		// btoa is built int javascript function for base64 encoding
        myFiles['picture'] = btoa(event.target.result)

        resolve()
      };
      reader.onerror = function() {
        console.log("can't read the file");
        reject()
      };
    })
  })

  Promise.all(filePromises)
    .then(() => {
      console.log('ready to submit')
      isFilesReady = true
    })
    .catch((error) => {
      console.log(error)
      console.log('something wrong happened')
    })
})
So now we have converted our file to Base64 string and pushed it inside the myFiles object. every time our input get changes, myFiles is going to erase all the data it holds and will process everything again.
Converting files to Data URI
We have converted our files to Base64 string but that's not enough to upload files, we need to convert it to Data URI, it should look like this;
data:image/jpeg;base64,/9j/4AAQSkZJRgABAQAAAQABAAD/2wCEAAoHCBUWFRgVFRYZGRgZHBgYGBwYGhgYGBoYGBgaGhoZGBgcIS4lHB4rIRgYJjgmKy8xNTU1GiQ7QDs0Py40NTEBDAwMEA8QHBISGjQh...3000 more charactersThe format is;
data:[<mime type>][;charset=<charset>][;base64],<encoded data>
Fortunately, we can access the MimeType, so that's going to be easy like that:
// Convert Base64 to data URI
// Assign it to your object
myFiles['picture'] = `data:${file.type};base64,${btoa(event.target.result)}`
So now it's ready to upload. But let's make some tweaks before we go on.
I have named our file input as picture for the example, let's make our code dynamic so it can get the file input name attribute
// this is to get the input name attribute, in our case it will yield as "picture"
// I'm doing this because I want you to use this code dynamically
// so if you change the input name, the result also going to effect
const inputKey = fileInput.getAttribute('name')
then change this;
myFiles[inputKey] = `data:${file.type};base64,${btoa(event.target.result)}`
that way if you change your input name to resume it will yield as myFiles['resume']
Converting multiple files to base64 at once
Let's cover our code so it can support multiple file input;
<input type="file" id="pictureInput" multiple/>
So in that case, we want to check if input has single or multiple files, if it has single file we want to name it right according to input name, in our example it would be picture but if it has more than one file, we are going to name with file lengths such as picture[0], picture[1]
here's the code:
+ // if it's multiple upload field then set the object key as picture[0], picture[1]
+ // otherwise just use picture
+ const fileKey = `${inputKey}${files.length > 1 ? `[${index}]` : ''}`
+ // Convert Base64 to data URI
+ // Assign it to your object
- myFiles[inputKey] = `data:${file.type};base64,${btoa(event.target.result)}`
+ myFiles[fileKey] = `data:${file.type};base64,${btoa(event.target.result)}`
Handle the form submit event
Let's cover our form submit event, what we want to do in that case is we will check if the files are ready, if they're not we are going to show an alert to user
const formElement = document.getElementById('formcarryForm')

const handleForm = async (event) => {
  event.preventDefault();

  if(!isFilesReady){
    alert('files still getting processed')
  }
}

formElement.addEventListener('submit', handleForm)
All of the code we wrote so far should look like this;
const fileInput = document.getElementById('pictureInput')

// This is for storing the base64 strings
let myFiles = {}
// if you expect files by default, make this disabled
// we will wait until the last file being processed
let isFilesReady = true

fileInput.addEventListener('change', async (event) => {
  // clean up earliest items
  myFiles = {}
  // set state of files to false until each of them is processed
  isFilesReady = false

  // this is to get the input name attribute, in our case it will yield as "picture"
  // I'm doing this because I want you to use this code dynamically
  // so if you change the input name, the result also going to effect
  const inputKey = fileInput.getAttribute('name')
  var files = event.srcElement.files;

  const filePromises = Object.entries(files).map(item => {
    return new Promise((resolve, reject) => {
      const [index, file] = item
      const reader = new FileReader();
      reader.readAsBinaryString(file);

      reader.onload = function(event) {
        // if it's multiple upload field then set the object key as picture[0], picture[1]
        // otherwise just use picture
        const fileKey = `${inputKey}${files.length > 1 ? `[${index}]` : ''}`
        // Convert Base64 to data URI
        // Assign it to your object
        myFiles[fileKey] = `data:${file.type};base64,${btoa(event.target.result)}`

        resolve()
      };
      reader.onerror = function() {
        console.log("can't read the file");
        reject()
      };
    })
  })

  Promise.all(filePromises)
    .then(() => {
      console.log('ready to submit')
      isFilesReady = true
    })
    .catch((error) => {
      console.log(error)
      console.log('something wrong happened')
    })
})

const formElement = document.getElementById('formcarryForm')

const handleForm = async (event) => {
  event.preventDefault();

  if(!isFilesReady){
    console.log('files still getting processed')
	return
  }
}

formElement.addEventListener('submit', handleForm)
Let's create an object of our form values in the form submit event;
const formElement = document.getElementById('formcarryForm')

const handleForm = async (event) => {
  event.preventDefault();

  if(!isFilesReady){
    console.log('files still getting processed')
    return
  }

  const formData = new FormData(formElement)

	// get name and message input from our <form> element
  let data = {
    'name': formData.get('name'),
    'message': formData.get('message')
  }

	// iterate over the base64 files we've converted
  Object.entries(myFiles).map(item => {
	// destruct the file
    const [key, file] = item
	// append it to our data object
    data[key] = file
  })

  console.log(data)
}

formElement.addEventListener('submit', handleForm)
Let's try it out:
What's next?
We've done all the necessary stuff on the front-end except network request part.
At formcarry we allow our customers to upload files as Base64 (pro feature).
You can either use our service to handle your form, or you can write a server code to process Base64 Data URI.
Luckily for you, I'm going to cover both of them.
1.1- Uploading Base64 to formcarry
Now we can send our data to formcarry, the important thing in this step is converting our object to JSON and setting the Content Type as application/json.
const handleForm = async (event) => {
  event.preventDefault();

  if(!isFilesReady){
    console.log('files still getting processed')
    return
  }

  const formData = new FormData(formElement)

  let data = {
    'name': formData.get('name'),
    'message': formData.get('message')
  }

  Object.entries(myFiles).map(item => {
    const [key, file] = item
	// append the file to data object
    data[key] = file
  })

  fetch('https://formcarry.com/s/{Your-Unique-Endpoint}', {
    method: 'POST',
    body: JSON.stringify(data),
    headers: {
      'Content-Type': 'application/json',
      Accept: 'application/json'
    }
  })
  // convert response to json
  .then(r => r.json())
  .then(res => {
    console.log(res);
  });
}
Change https://formcarry.com/s/{Your-Unique-Endpoint} with your unique form ID
1.2- Try it out
Submit your form by filling out all of the fields, then refresh your dashboard
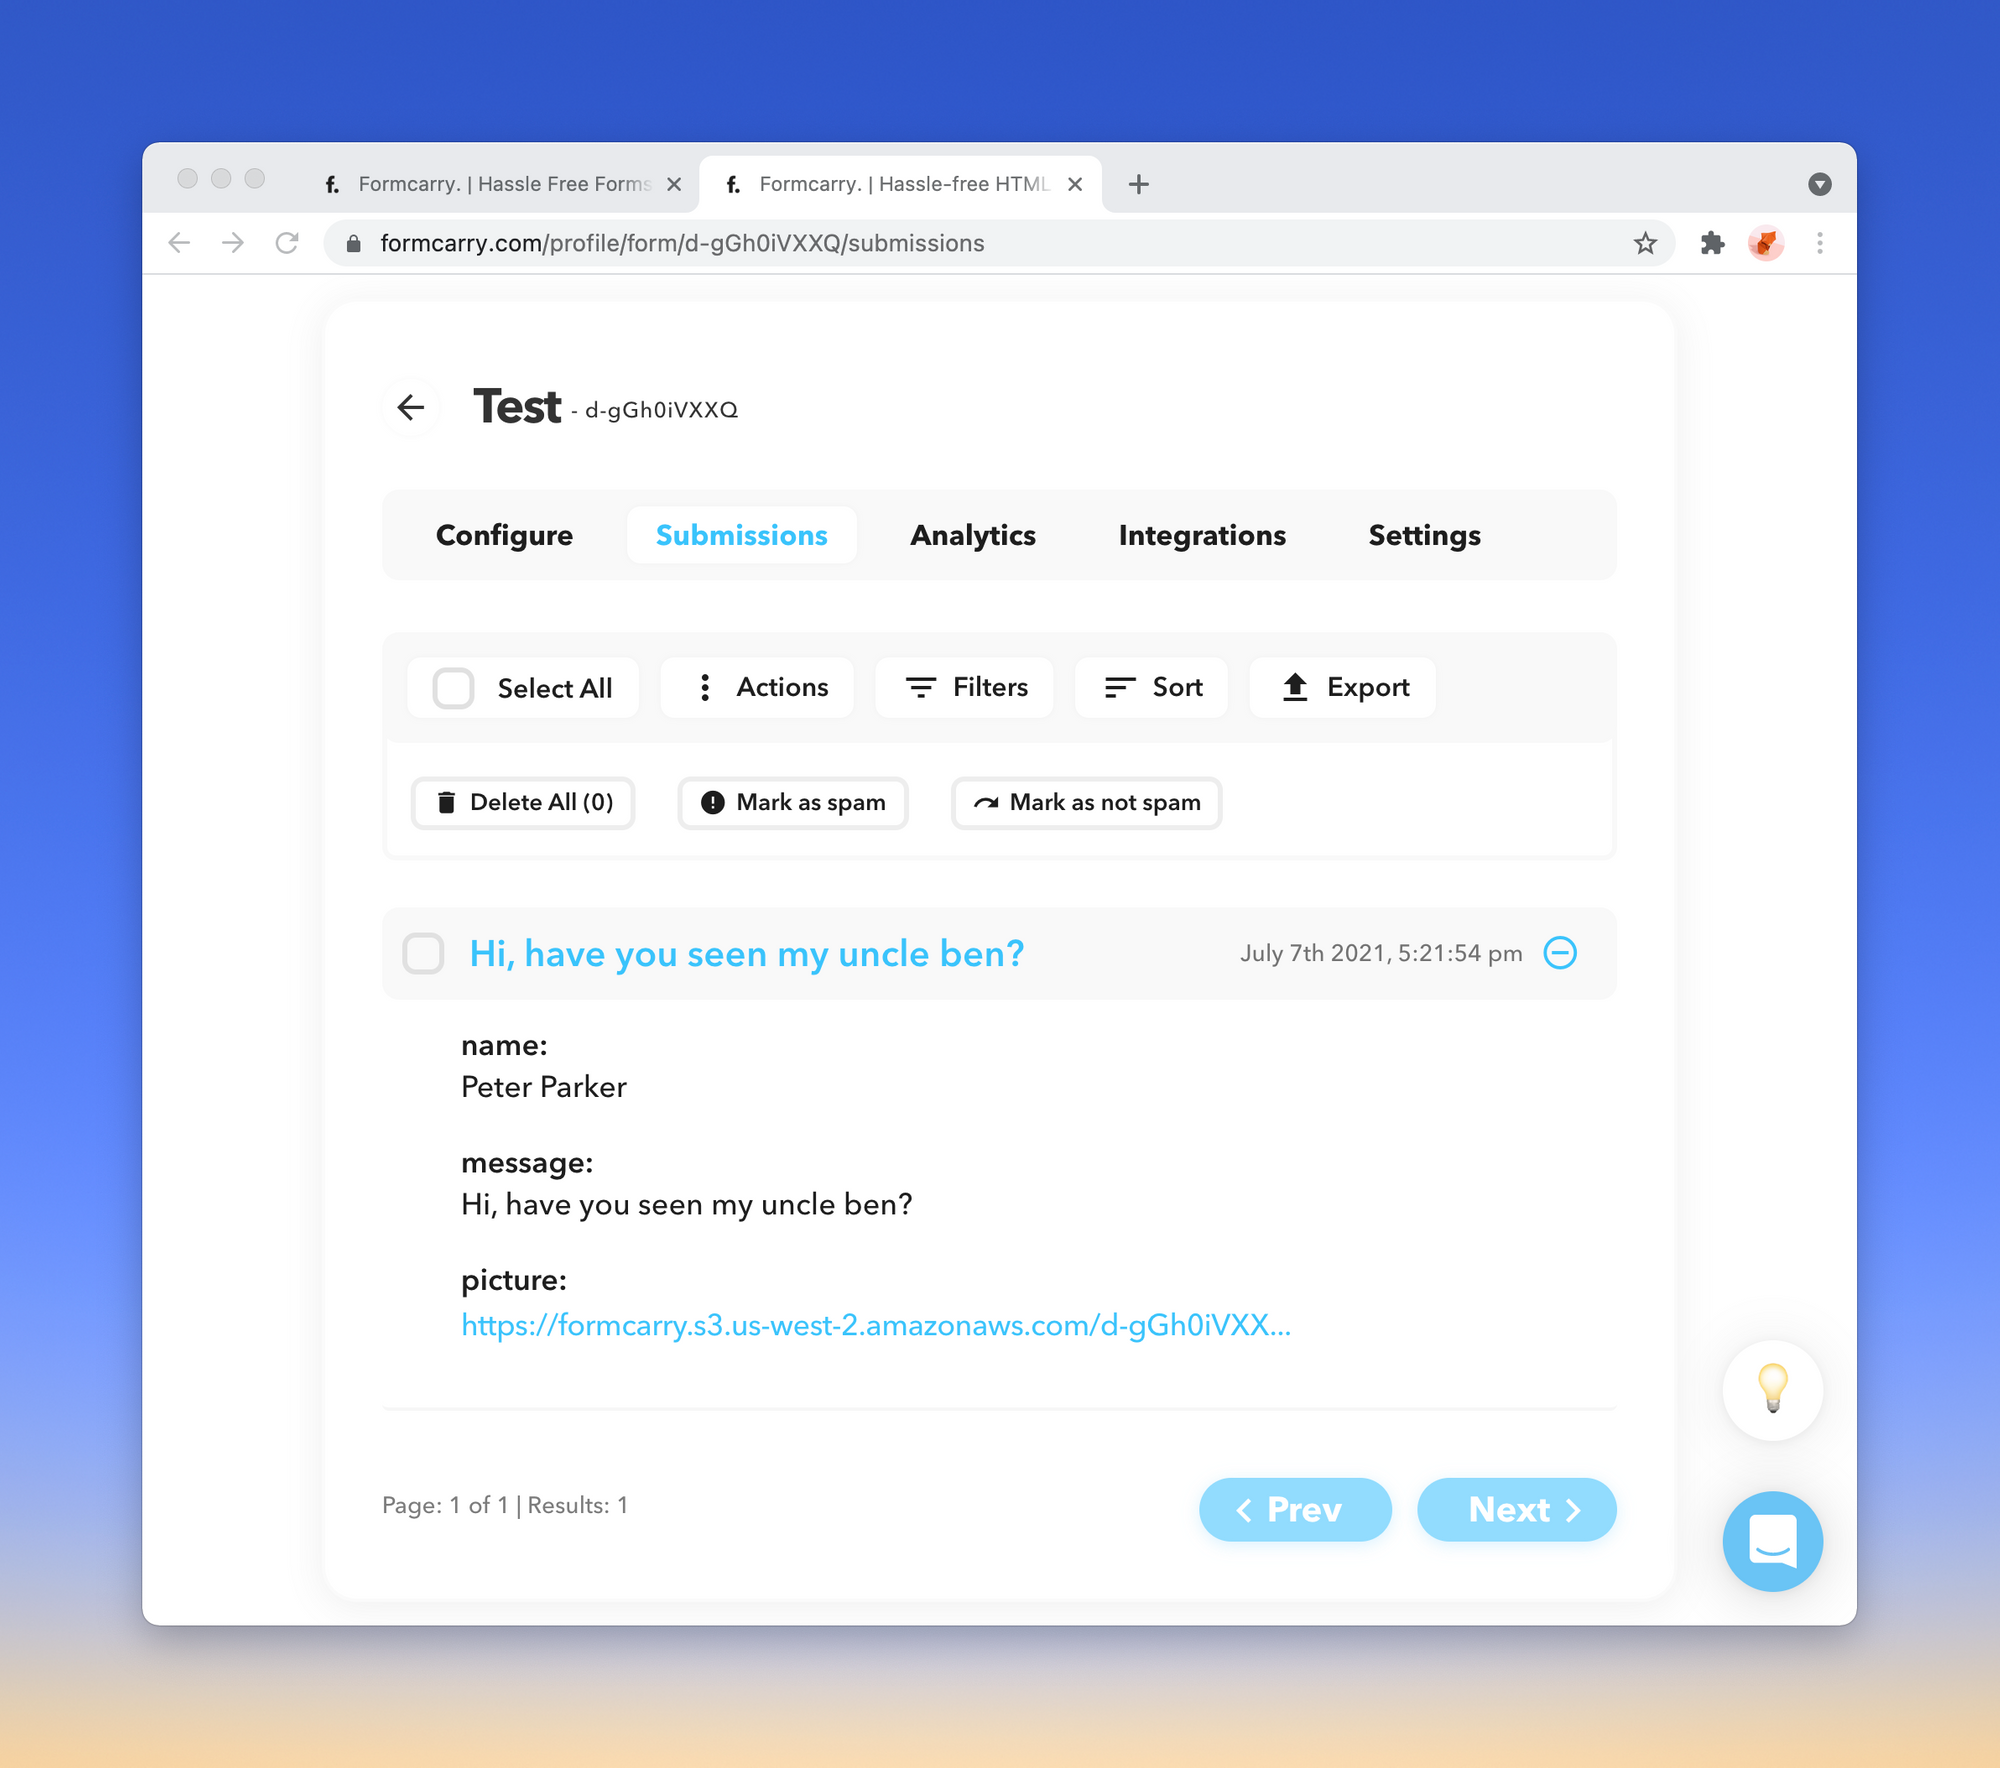
Formcarry will automagically convert your base64 to download-ready file.
2- Uploading Base64 to NodeJS
I'm going to use Express.js for our example, let's create an express app using express-generator
$ npx express-generator
Approximately Base64 files are 33% heavier than the original file, you might want to keep that in mind.
Now, let's allow our server to process large body data by getting into the app.js and change:
-app.use(express.json());
-app.use(express.urlencoded({ extended: false }));
+app.use(express.json({limit: '50mb'}));
+app.use(express.urlencoded({ extended: true, limit: '50mb' }));
Also we need to enable CORS to perform request from our front-end app:
npm i --save cors
Enable it like this:
var express = require('express');
var ba64 = require('ba64');
var cors = require('cors');

var app = express();

app.use(cors());
I'm going to remove all the unnecessary stuff, you can replace this with your app.js:
var createError = require('http-errors');
var express = require('express');
var path = require('path');
var cors = require('cors')

var app = express();

app.use(cors());

app.use(express.json({limit: '50mb'}));
app.use(express.urlencoded({ extended: true, limit: '50mb' }));
app.use(express.static(path.join(__dirname, 'public')));

// catch 404 and forward to error handler
app.use(function(req, res, next) {
  next(createError(404));
});

// error handler
app.use(function(err, req, res, next) {
  // set locals, only providing error in development
  res.locals.message = err.message;
  res.locals.error = req.app.get('env') === 'development' ? err : {};

  // render the error page
  res.status(err.status || 500);
  res.render('error');
});

module.exports = app;
2.1- Creating our process route
Now we need to create a Express route to process our form data.
But first we are going to use a tiny package called ba64 which will help us to save base64 images to our disk.
The flow should be like this;
- Check the key is a valid Data URI
- If it's valid extract the Base64 string from Data URI
- Extract the mimetype from Data URI
- Save to the disk
That's where ba64 package comes in, it will automatically extract Base64 string from Data URI, and append the file extension after the file name automatically.
npm i --save ba64
Import it in our app.js
var ba64 = require('ba64')
Let's create our route, go to app.js and add following:
app.post('/upload', async (req, res, next) => {
  // exclude name and message for the sake of demo
  // all other body items will be considered as a file
  const { name, message, ...files } = req.body

  for(let key in files){
    const base64 = files[key]

    // check if it's correctly formatted Base64 Data URI
    if(checkBase64(base64)){
      // Write it to our root directory using input key as filename
      // eg. picture[1]
      ba64.writeImageSync(key, base64)
    }
  }

  res.send({files})
})

function checkBase64(string){
  const B64_REGEX = /^data:.*;base64,([0-9a-zA-Z+\\/]{4})*(([0-9a-zA-Z+\\/]{2}==)|([0-9a-zA-Z+\\/]{3}=))?$/i

  return B64_REGEX.test(string)
}
Final code should look like:
var createError = require('http-errors');
var express = require('express');
var path = require('path');
var ba64 = require('ba64')
var cors = require('cors')

var app = express();

app.use(cors());

// view engine setup
app.use(express.json({limit: '50mb'}));
app.use(express.urlencoded({ extended: true, limit: '50mb' }));
app.use(express.static(path.join(__dirname, 'public')));


app.post('/upload', async (req, res, next) => {
  // exclude name and message for the sake of demo
  // all other body items will be considered as a file
  const { name, message, ...files } = req.body

  for(let key in files){
    const base64 = files[key]

    // check if it's correctly formatted Base64 Data URI
    if(checkBase64(base64)){
      // Write it to our root directory using input key as filename
      // eg. picture[1]
      ba64.writeImageSync(key, base64)
    }
  }

  res.send({files})
})

function checkBase64(string){
  const B64_REGEX = /^data:.*;base64,([0-9a-zA-Z+\/]{4})*(([0-9a-zA-Z+\/]{2}==)|([0-9a-zA-Z+\/]{3}=))?$/i

  return B64_REGEX.test(string)
}

// catch 404 and forward to error handler
app.use(function(req, res, next) {
  next(createError(404));
});

// error handler
app.use(function(err, req, res, next) {
  // set locals, only providing error in development
  res.locals.message = err.message;
  res.locals.error = req.app.get('env') === 'development' ? err : {};

  // render the error page
  res.status(err.status || 500);
  res.render('error');
});

module.exports = app;
Now run the app using:
$ npm start
2.2 - Configure Front-end
Let's get back to our front-end code and point our form to the back-end our server runs at http://localhost:3000 and our route is localhost:3000/upload
const handleForm = async (event) => {
  event.preventDefault();

  if(!isFilesReady){
    console.log('files still getting processed')
    return
  }

  const formData = new FormData(formElement)

  let data = {
    'name': formData.get('name'),
    'message': formData.get('message')
  }

  Object.entries(myFiles).map(item => {
    const [key, file] = item
	// append the file to data object
    data[key] = file
  })

  fetch('http://localhost:3000/upload', {
    method: 'POST',
    body: JSON.stringify(data),
    headers: {
      'Content-Type': 'application/json',
      Accept: 'application/json'
    }
  })
  // convert response to json
  .then(r => r.json())
  .then(res => {
    console.log(res);
  });
}
Let's try it:
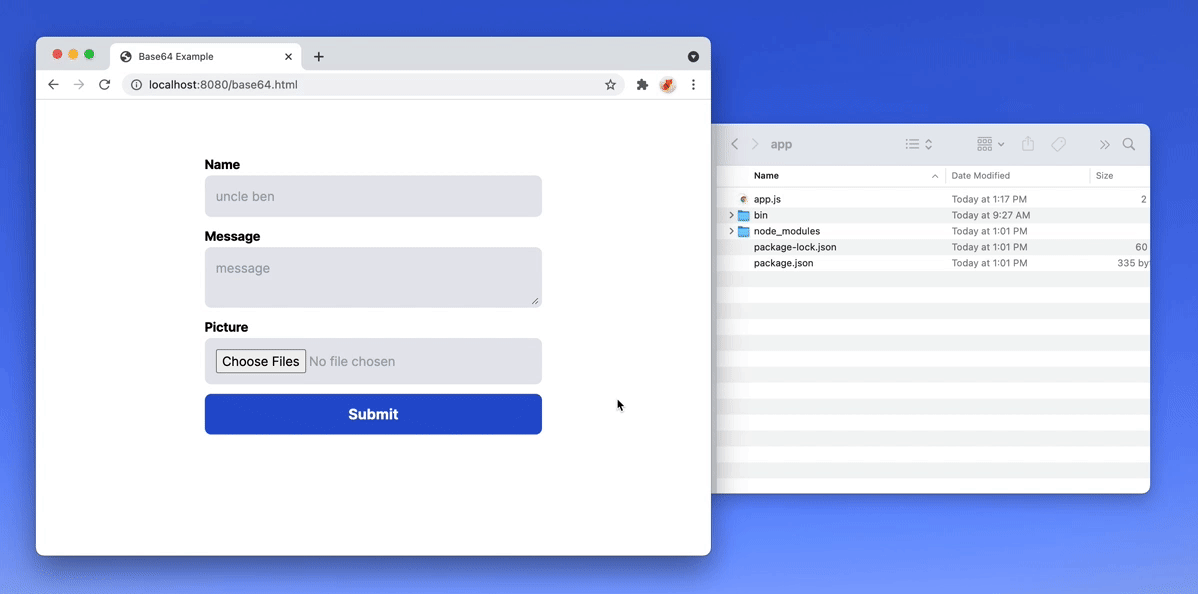
It works!
Conclusion
Thanks for following the blog post to the end, base64 is a tricky issue that's why I wanted to prepare an end-to-end fully functional tutorial.
I hope it's beneficial for you, if you have any questions just leave a comment and I'll try my best.
If you want to support us, just take a look at our service formcarry for a hassle free form handling.