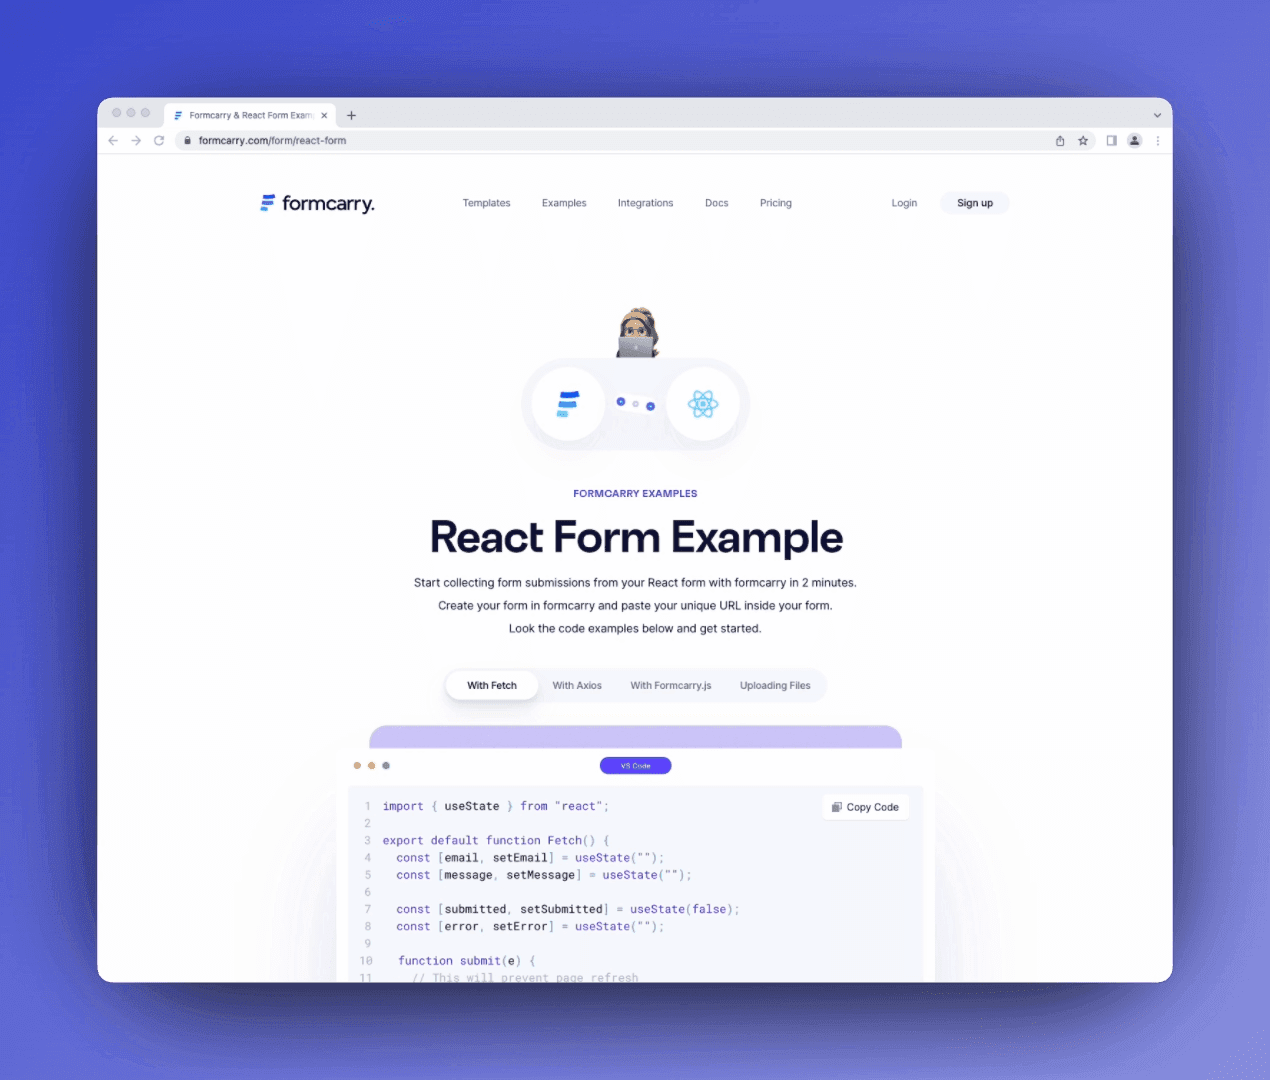
formcarry.
:')
formcarry
_

FORMCARRY EXAMPLES

Gatsby Form Example

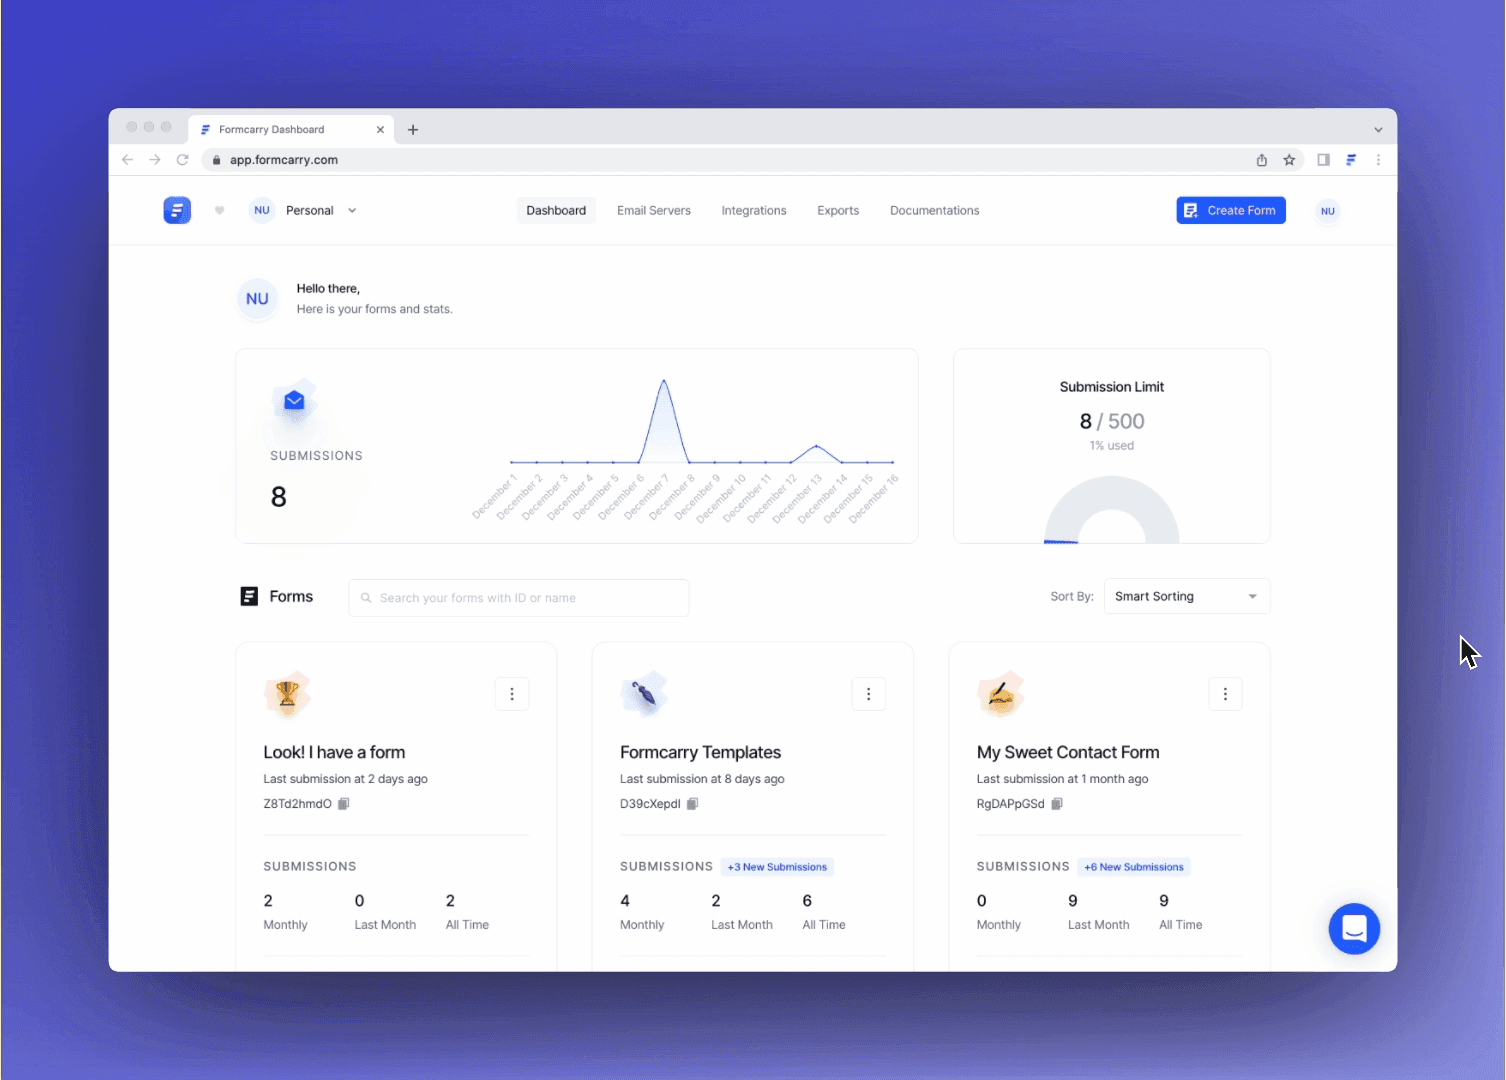
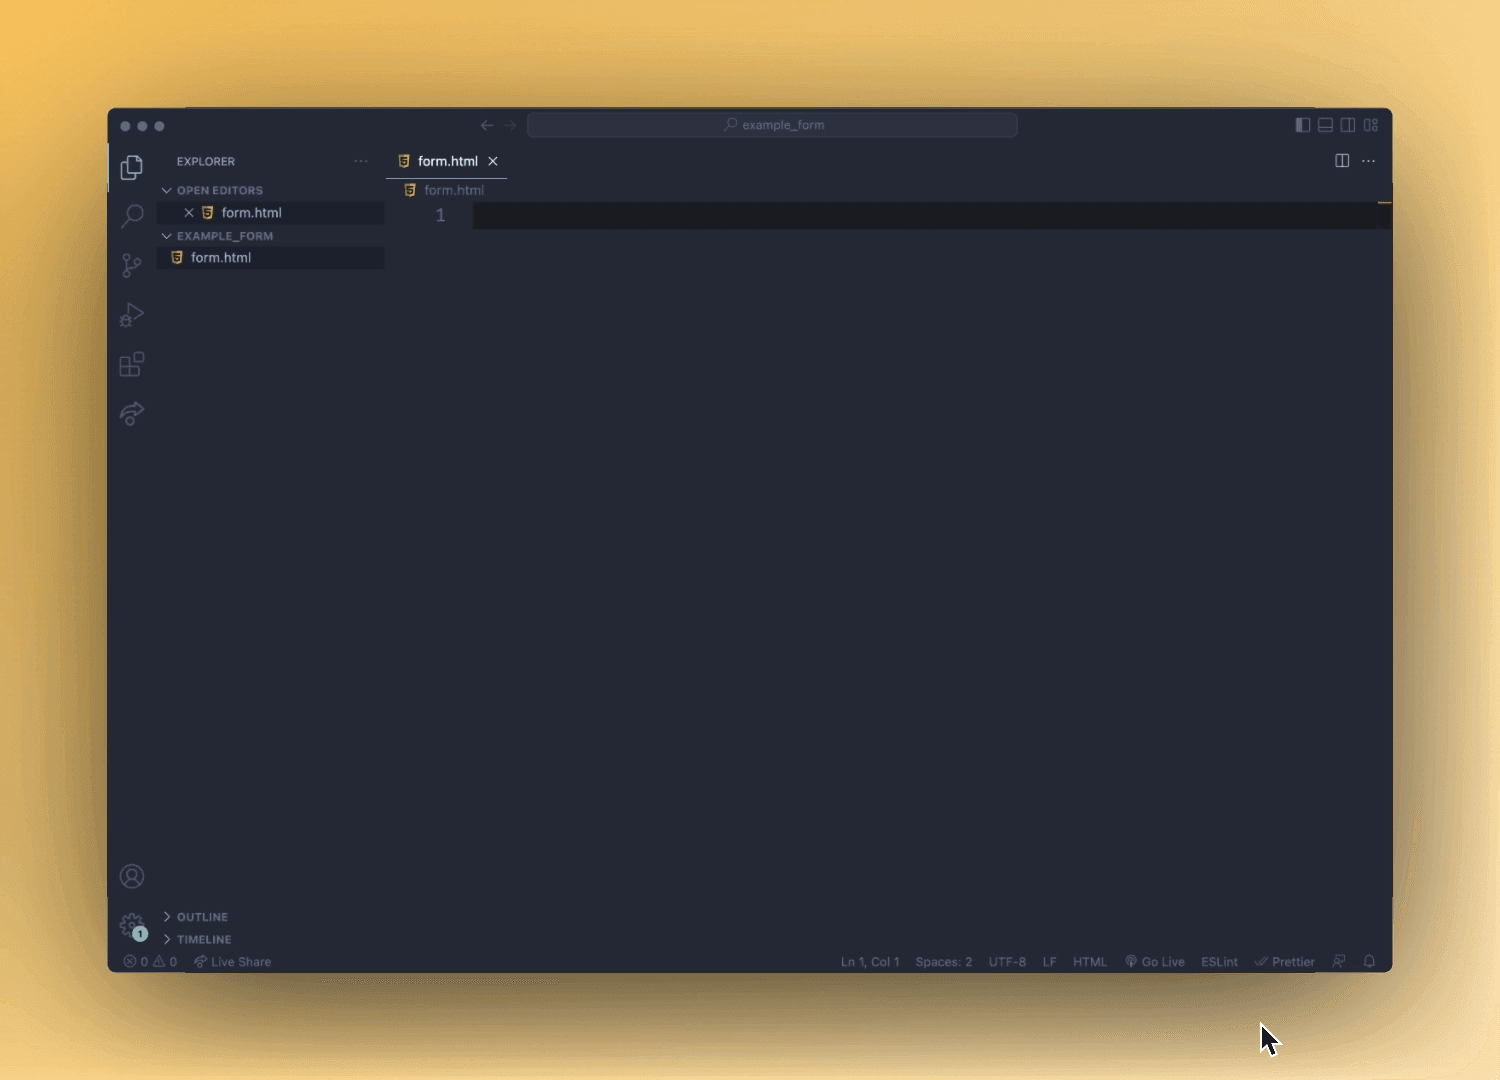
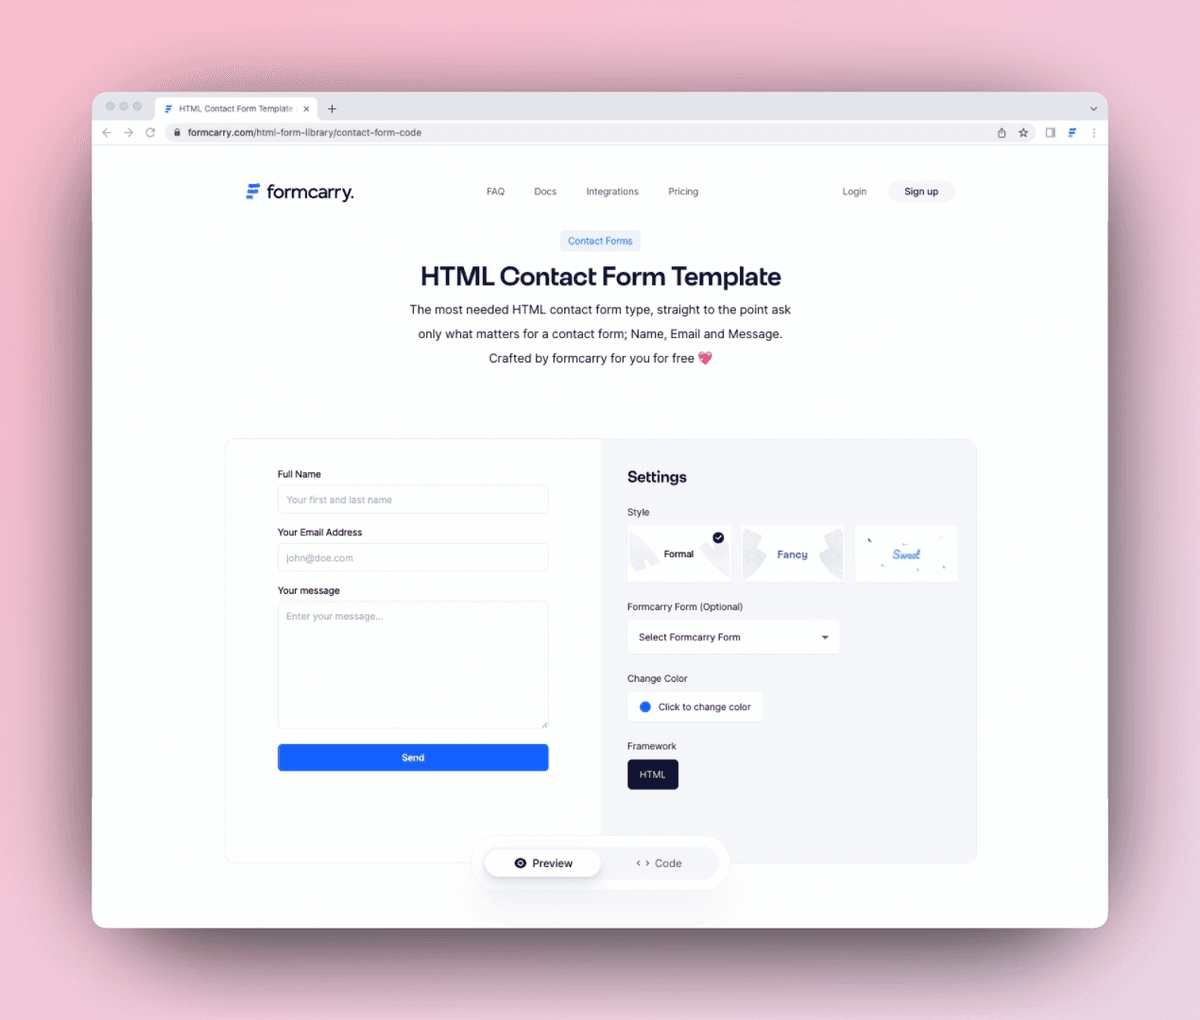
Start collecting form submissions from your Gatsby form with formcarry in 2 minutes. Create your form in formcarry and paste your unique URL inside your form. Look the code examples below and get started.

With Fetch

With Axios

Uploading Files

VS Code

Copy Code

1import { useState } from "react";
2
3export default function Fetch() {
4  const [email, setEmail] = useState("");
5  const [message, setMessage] = useState("");
6
7  const [submitted, setSubmitted] = useState(false);
8  const [error, setError] = useState("");
9
10  function submit(e) {
11    // This will prevent page refresh
12    e.preventDefault();
13
14    // replace this with your own unique endpoint URL
15    fetch("https://formcarry.com/s/XXXXXXX", {
16      method: "POST",
17      headers: {
18        "Content-Type": "application/json",
19        Accept: "application/json"
20      },
21      body: JSON.stringify({ email: email, message: message })
22    })
23      .then((res) => res.json())
24      .then((res) => {
25        if (res.code === 200) {
26          setSubmitted(true);
27        } else {
28          setError(res.message);
29        }
30      })
31      .catch((error) => setError(error));
32  }
33
34  if (error) {
35    return <p>{error}</p>;
36  }
37
38  if (submitted) {
39    return <p>We've received your message, thank you for contacting us!</p>;
40  }
41
42  return (
43    <form onSubmit={submit}>
44      <label htmlFor="email">Email</label>
45      <input
46        id="email"
47        type="email"
48        value={email}
49        onChange={(e) => setEmail(e.target.value)}
50        required
51      />
52
53      <label htmlFor="message">Message</label>
54      <textarea
55        id="message"
56        value={message}
57        onChange={(e) => setMessage(e.target.value)}
58      />
59
60      <button type="submit">Send</button>
61    </form>
62  );
63}

INSTALLATION

How to setup Gatsby form

1

Sign up to formcarry to create your first form then copy your endpoint

Steps to create first form

You can follow the steps like in the video above 👆
Save your endpoint to somewhere, you are going to use it in 3rd step.

2

Copy the example code.

Copy example code

If you are in rush and want to quickly test it, consider using CodeSandbox to quickly test the code.

3

Paste the code and replace the endpoint that you got in 1st step.

Paste your code inside your project.

Take the endpoint that you got from 1st step then replace the test endpoint inside the example code with your endpoint.

4

Collect submissions ✨

Now you are ready to collect submissions from your Gatsby form.

Collect Submissions!

Check out our documentations for more information.

FREE FORM GENERATOR

Need templates?
Say less.

User our free form generator to kickstart your form, customize based on your needings, choose your form and get your fully-working form code.

Free form templates
Setting email notifications

EMAIL NOTIFICATIONS

Set email notifications for your form

Get an email from formcarry whenever you receive a new submission, add your own HTML template, use it with our smart tags

THANK YOU!

Use our customizable thank you pages

Formcarry offers 3 different customizable thank you pages that you can customize based on your brand image. Available on all plans.

Customizable thank you pages

FORMCARRY BLOG

Useful to read

:)
:)
:)
:)

LET'S GET STARTED!

Hassle Free Forms

Create an account and start collecting submissions

for your HTML forms, it only takes 2 minutes to setup your form

formcarry dashboard.
Blur
Your email address|
Copied example to clipboard 👏