FORMCARRY EXAMPLES
Vue Contact Form
with only Frontend Code
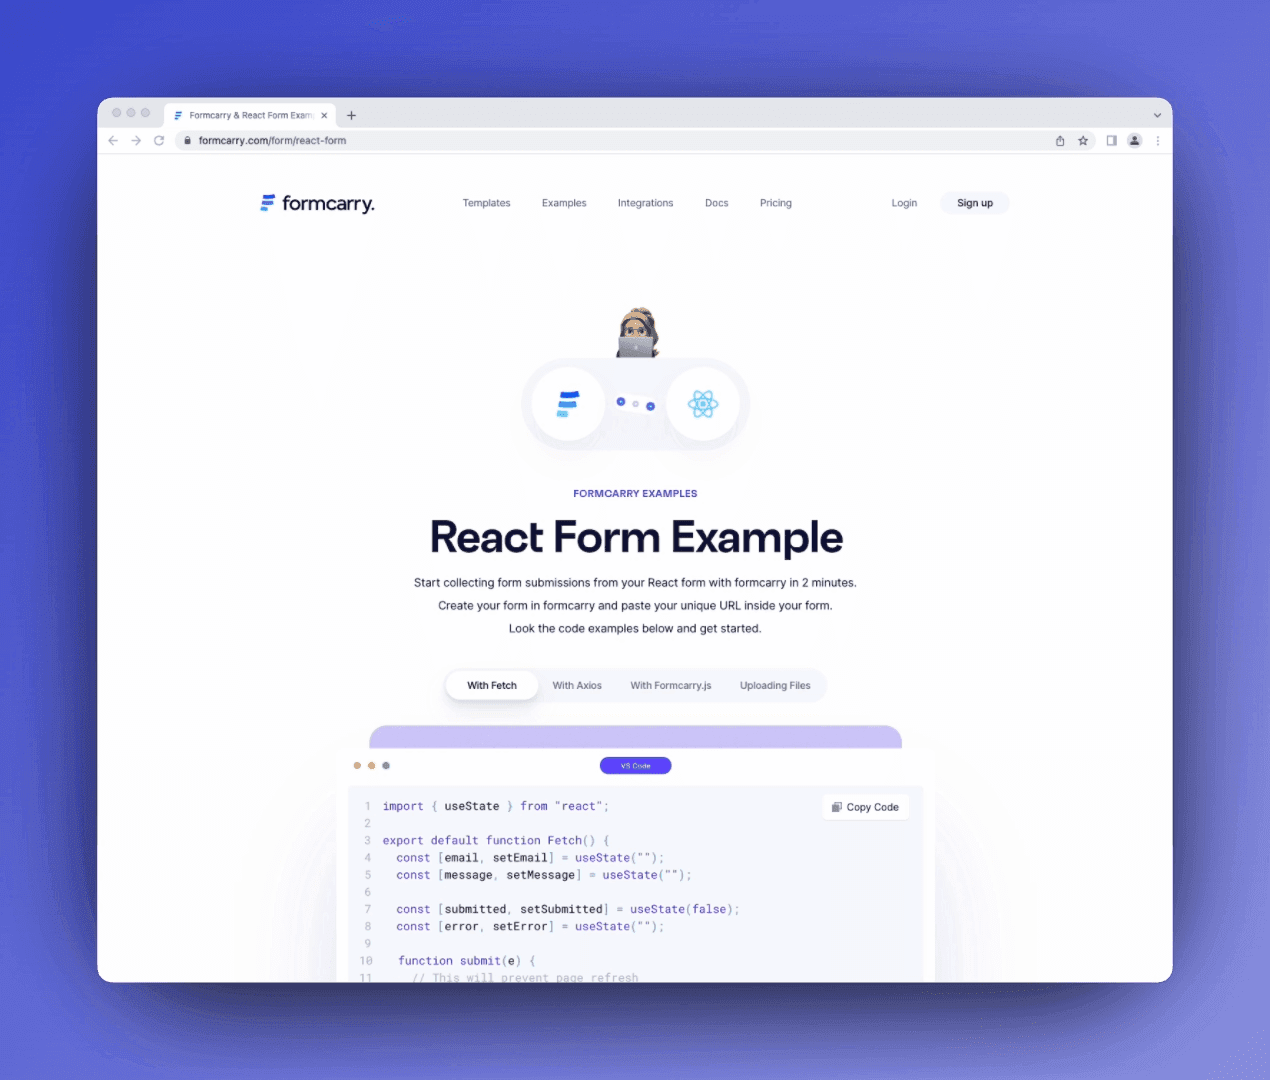
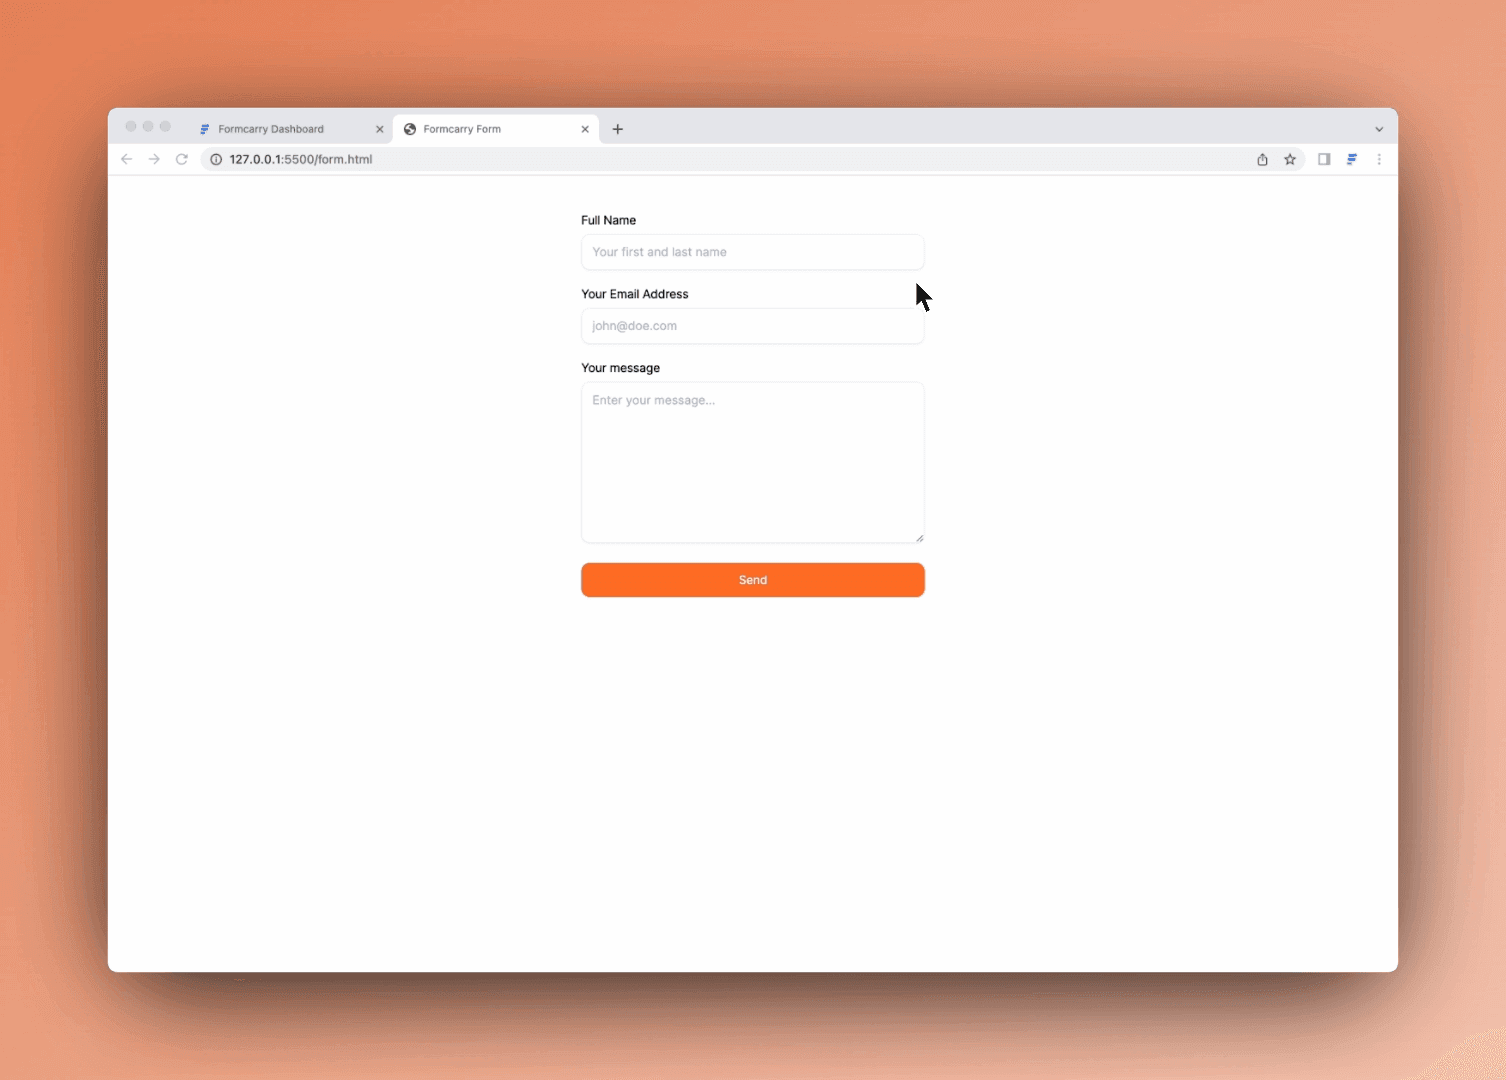
Start collecting form submissions from your VueJS form with formcarry in 2 minutes.
Create your form in formcarry and paste your unique URL inside your form.
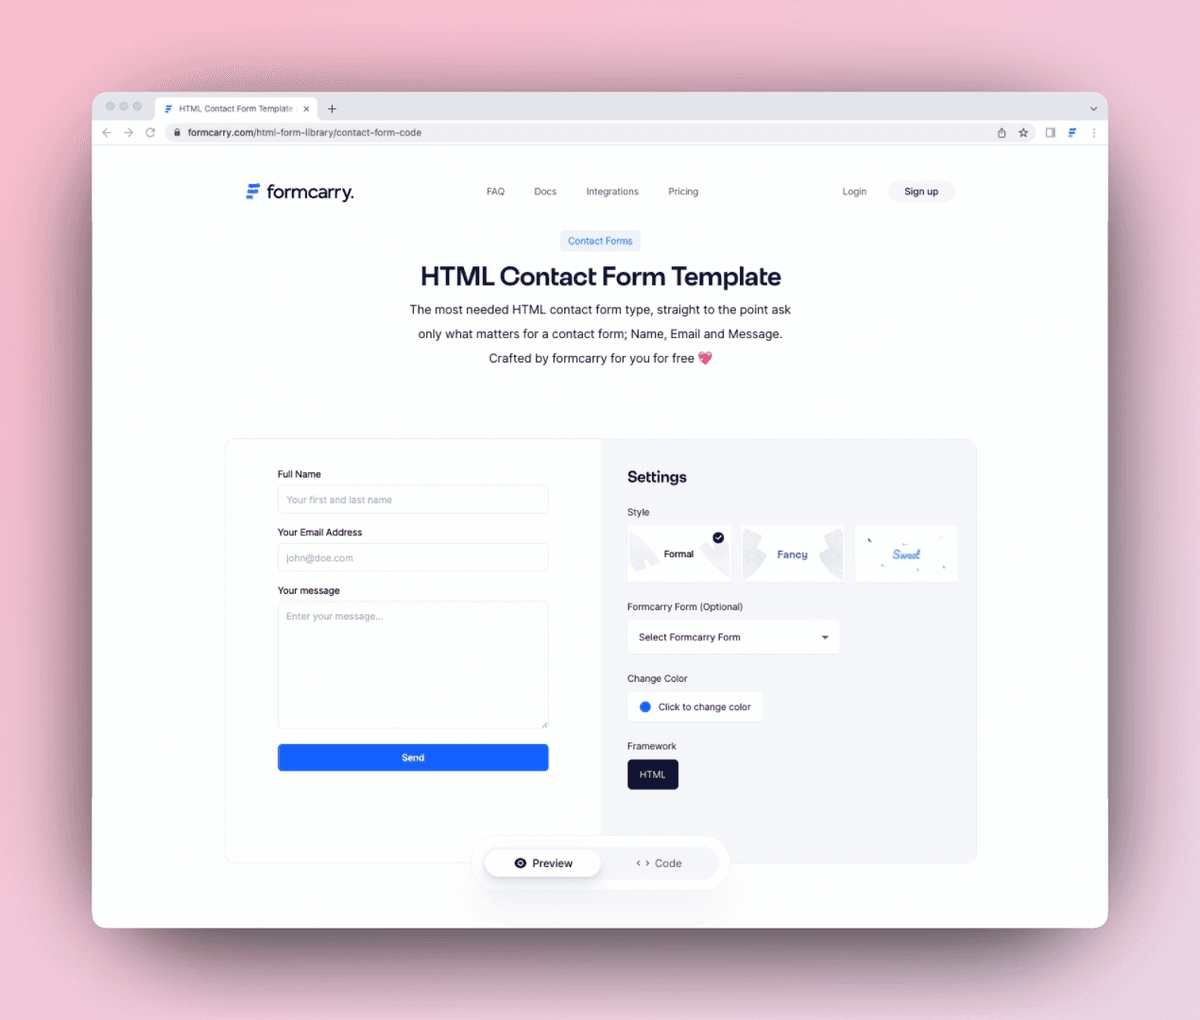
Look the code examples below and get started.
VueJS is a popular JavaScript framework for building user interfaces. Its simplicity and scalability make it a great choice for both small and large-scale applications.
Formcarry integrates seamlessly with VueJS, making it easy to create and manage forms. In this tutorial, we'll walk you through how to create a contact form using VueJS and Formcarry.
1- Create your form endpoint
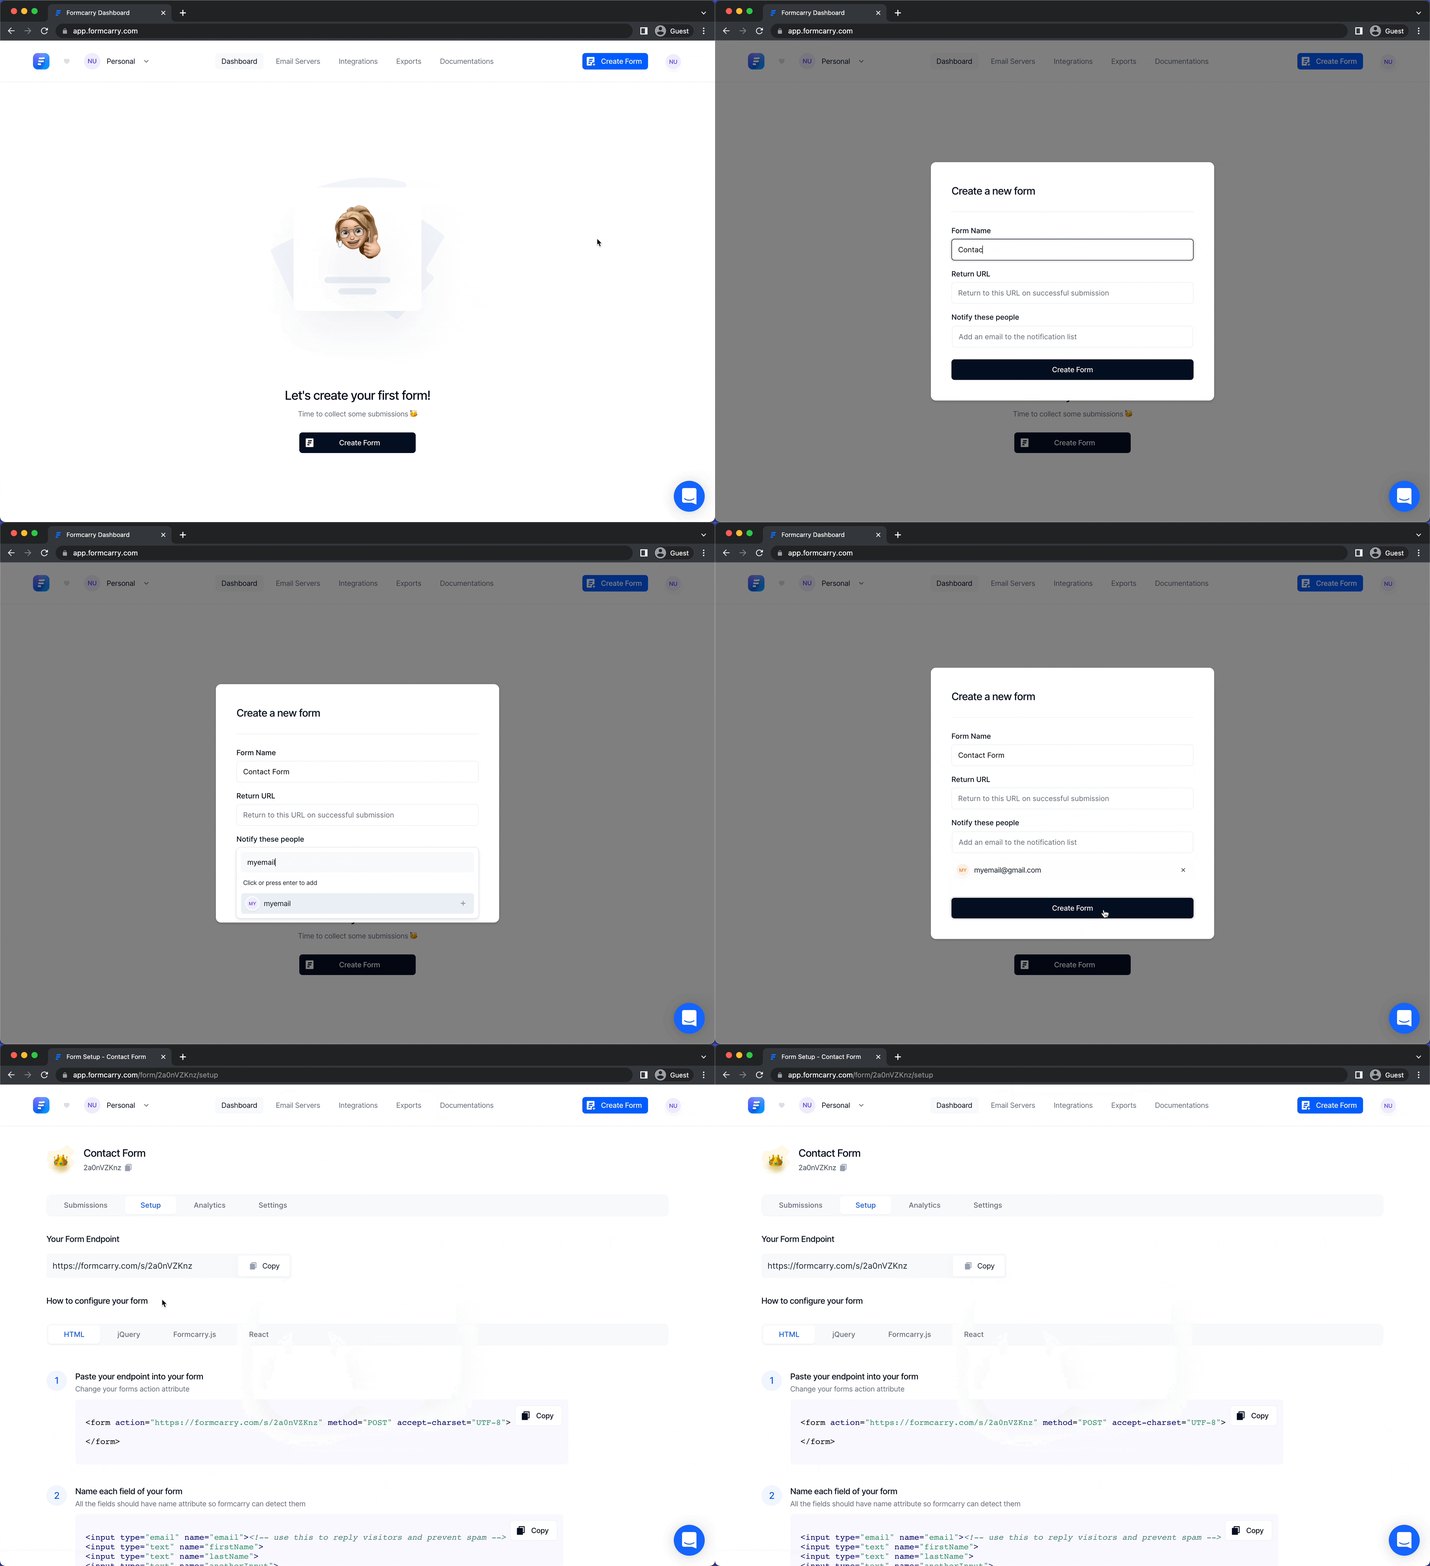
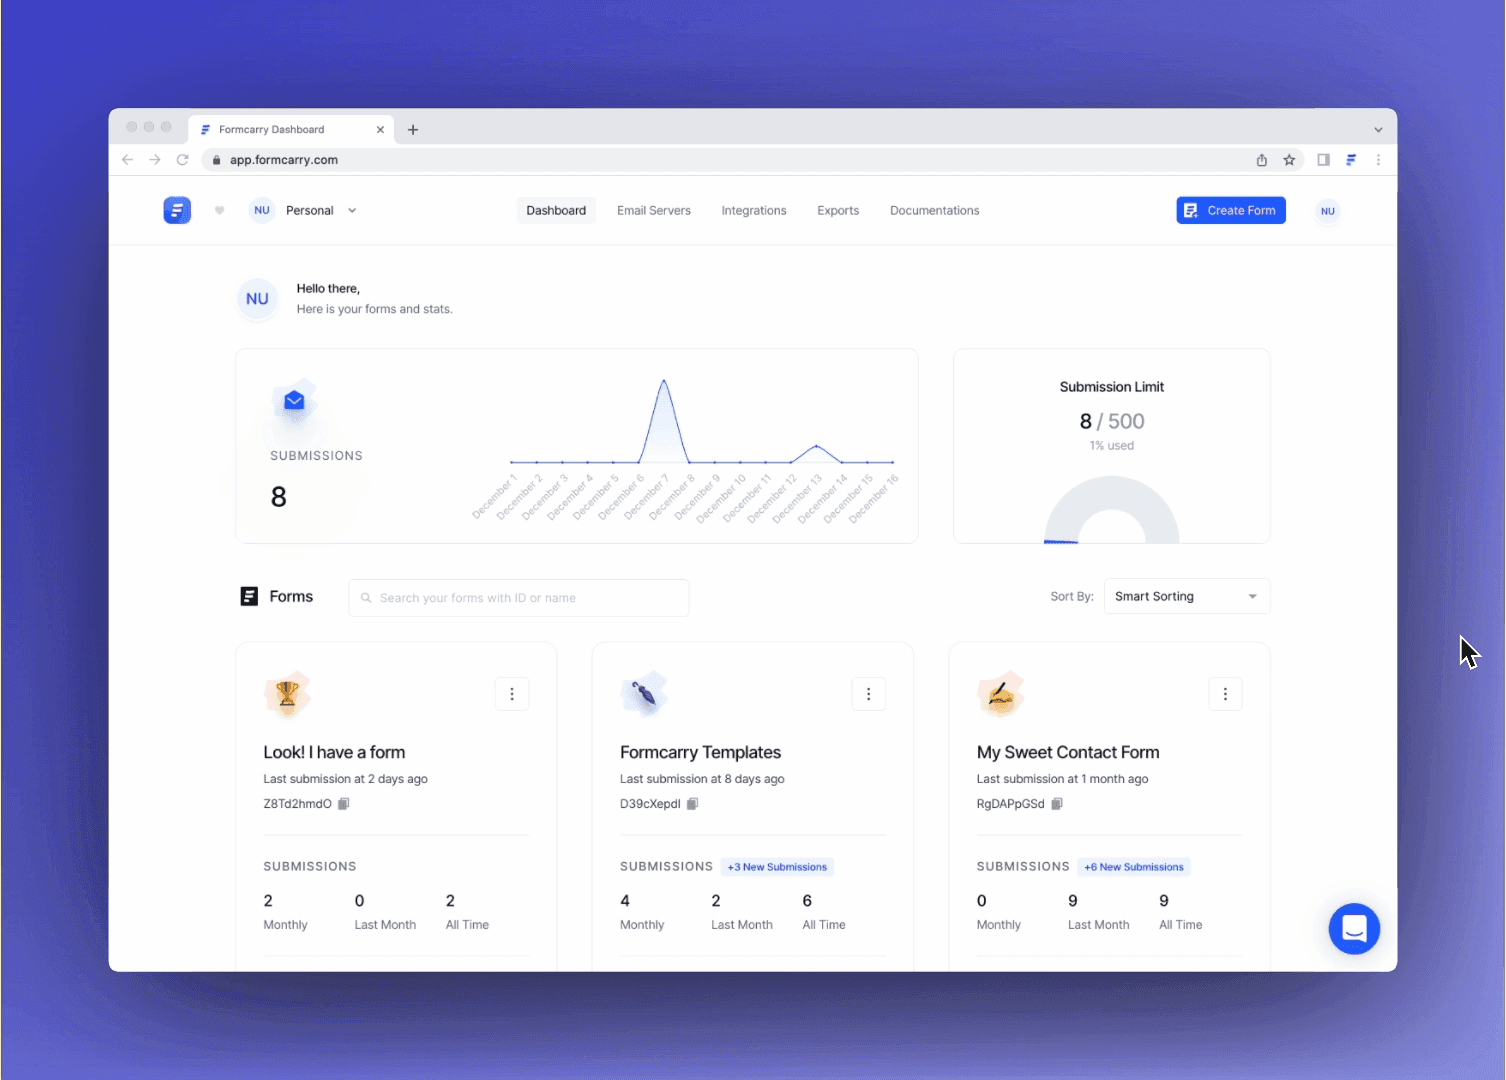
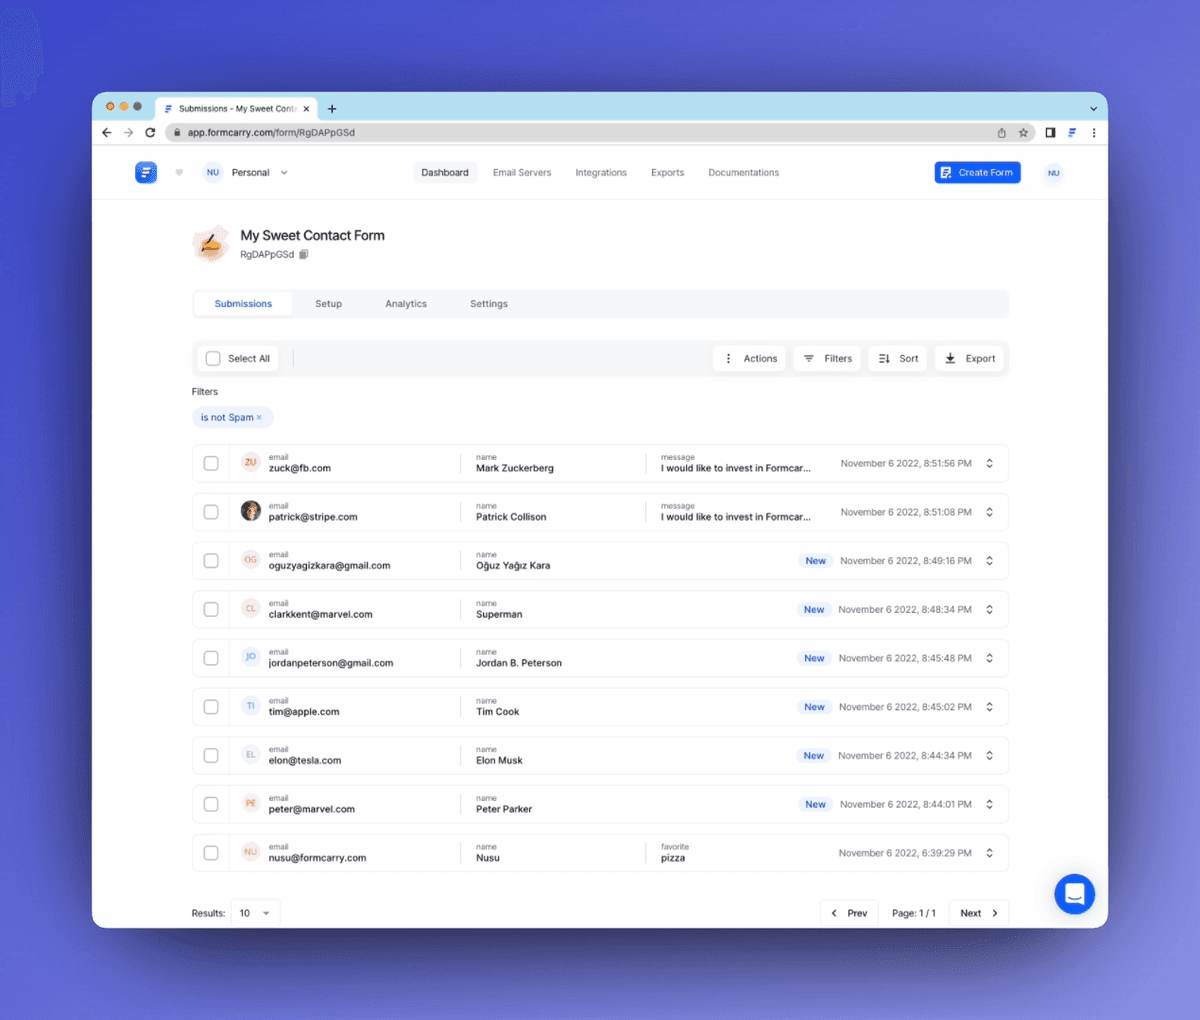
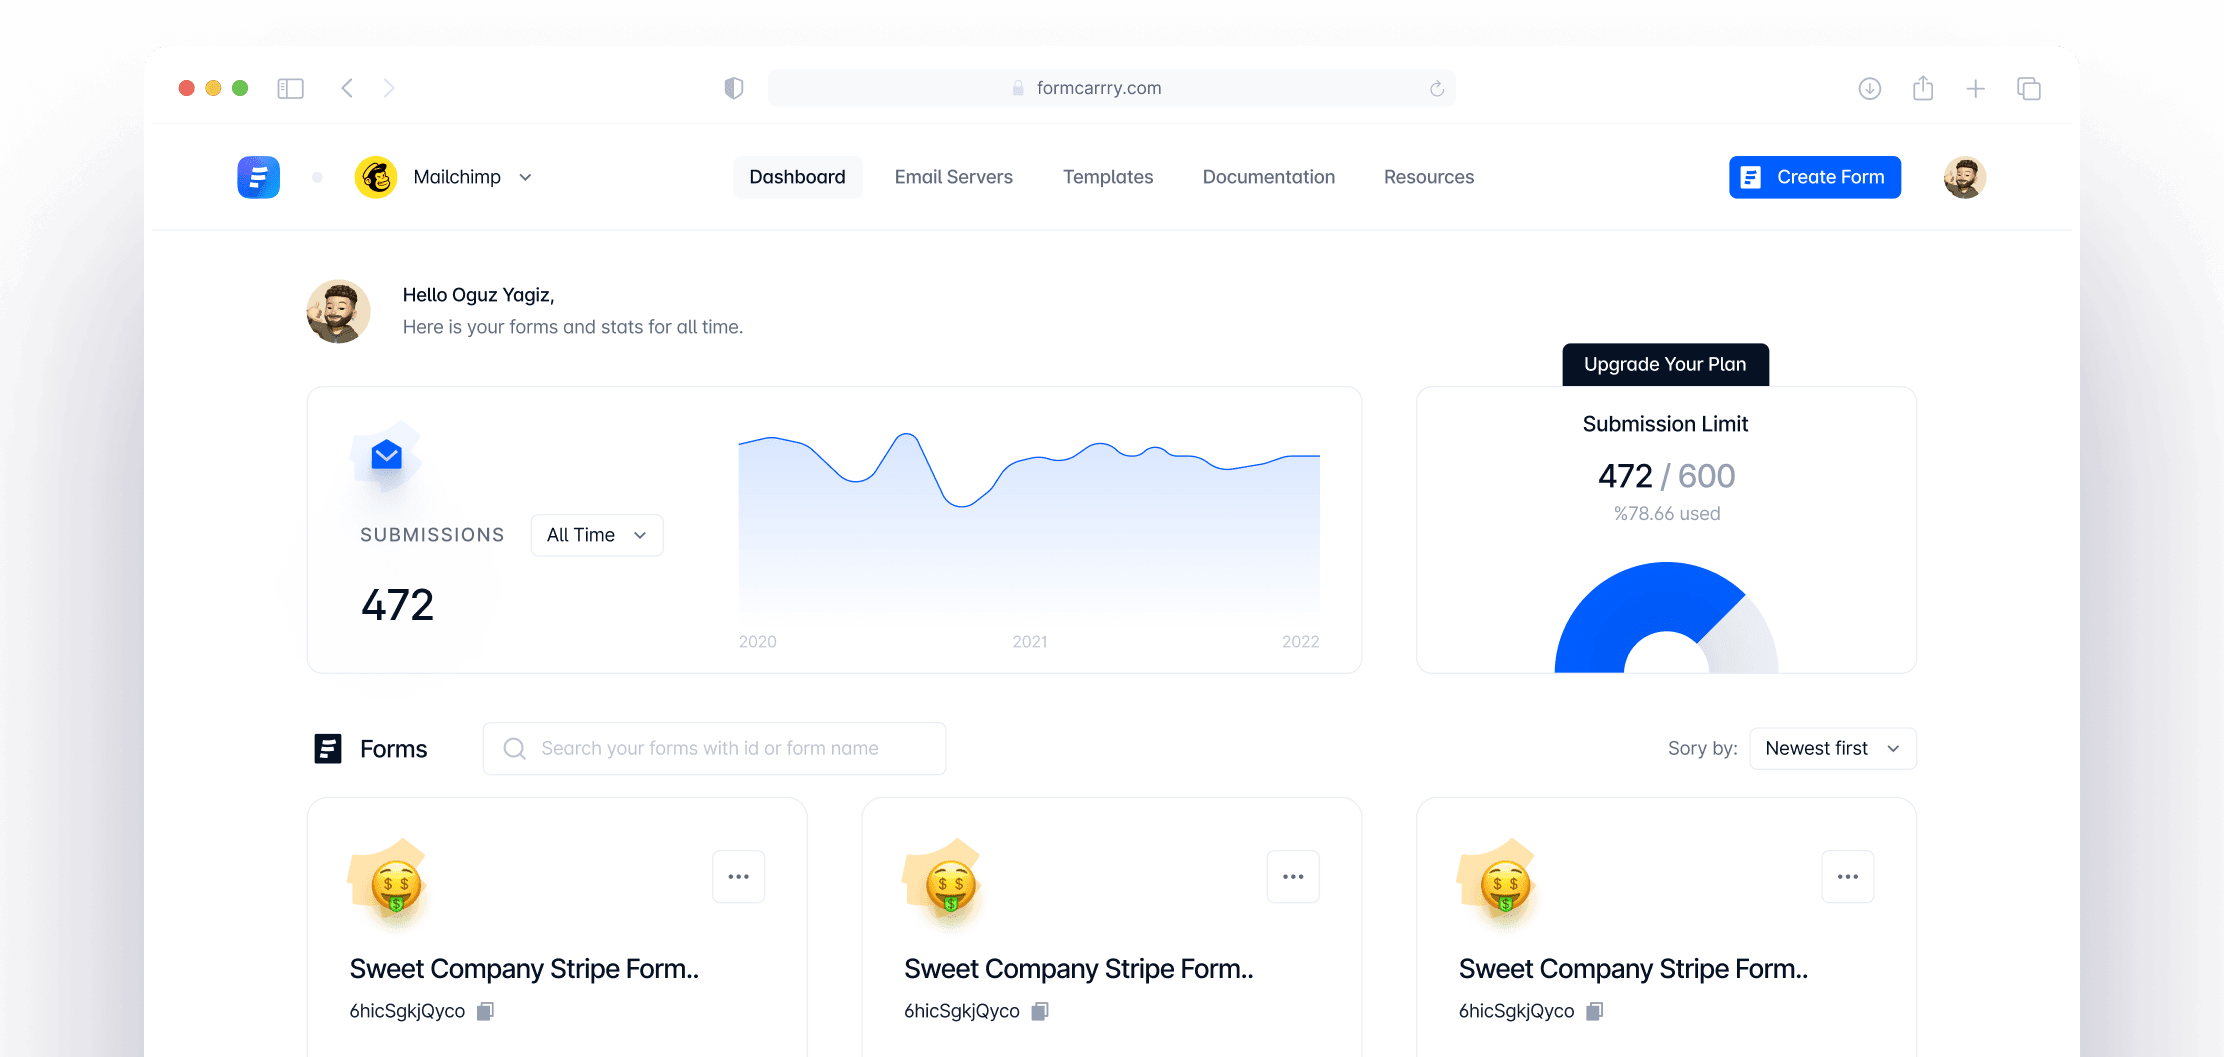
Visit the formcarry dashboard and create your form. In the Setup section of your form, copy your unique endpoint URL.
💡 Each form has its unique endpoint URL. Ensure you're using the correct one to receive messages.
VueJS Contact Form code
In this example we'll use Fetch API which is widely available by default in browsers.
1<template>
2 <div>
3 <form v-if="!submitted" @submit.prevent="submitForm">
4 <label>
5 <span>Email</span>
6 <input type="email" name="email" v-model="email" />
7 </label>
8 <label>
9 <span>Message</span>
10 <textarea name="message" v-model="message"></textarea>
11 </label>
12 <button type="submit">Submit</button>
13 </form>
14 <div v-if="submitted">
15 <p>Thank you for your message! We'll get back to you soon.</p>
16 </div>
17 <div v-if="error">
18 <p>Error: {{ error }}</p>
19 </div>
20 </div>
21</template>
22
23<script>
24export default {
25 data() {
26 return {
27 email: '',
28 message: '',
29 submitted: false,
30 error: '',
31 endpoint: 'https://formcarry.com/s/{Your Form ID}',
32 }
33 },
34 methods: {
35 async submitForm() {
36 const data = {
37 email: this.email,
38 message: this.message,
39 }
40 try {
41 const response = await fetch(this.endpoint, {
42 method: 'POST',
43 headers: {
44 'Content-Type': 'application/json',
45 'Accept': 'application/json',
46 },
47 body: JSON.stringify(data),
48 });
49 const result = await response.json();
50 if (result.code === 200) {
51 this.submitted = true;
52 } else {
53 this.error = result.message;
54 }
55 } catch (err) {
56 this.error = err.message;
57 }
58 },
59 },
60}
61</script>
Copied example to clipboard 👏
VueJS Contact Form using Axios
1<template>
2 <div>
3 <form v-if="!submitted" @submit.prevent="submitForm">
4 <label>
5 <span>Email</span>
6 <input type="email" name="email" v-model="email" />
7 </label>
8 <label>
9 <span>Message</span>
10 <textarea name="message" v-model="message"></textarea>
11 </label>
12 <button type="submit">Submit</button>
13 </form>
14 <div v-if="submitted">
15 <p>Thank you for your message! We'll get back to you soon.</p>
16 </div>
17 <div v-if="error">
18 <p>Error: {{ error }}</p>
19 </div>
20 </div>
21</template>
22
23<script>
24export default {
25 data() {
26 return {
27 email: '',
28 message: '',
29 submitted: false,
30 error: '',
31 endpoint: 'https://formcarry.com/s/{Your Form ID}',
32 }
33 },
34 methods: {
35 async submitForm() {
36 const data = {
37 email: this.email,
38 message: this.message,
39 }
40 try {
41 const response = await this.$axios.post(this.endpoint, data)
42 if (response.data.code === 200) {
43 this.submitted = true;
44 } else {
45 this.error = response.data.message;
46 }
47 } catch (err) {
48 this.error = err.message;
49 }
50 },
51 },
52}
53</script>
Copied example to clipboard 👏
Conclusion
Creating a contact form in Vue.js and integrating it with Formcarry is straightforward. With this setup, you can receive messages directly from your Vue.js application without the need for a backend server. Always ensure you're using the correct endpoint URL from Formcarry to capture the form submissions accurately.

