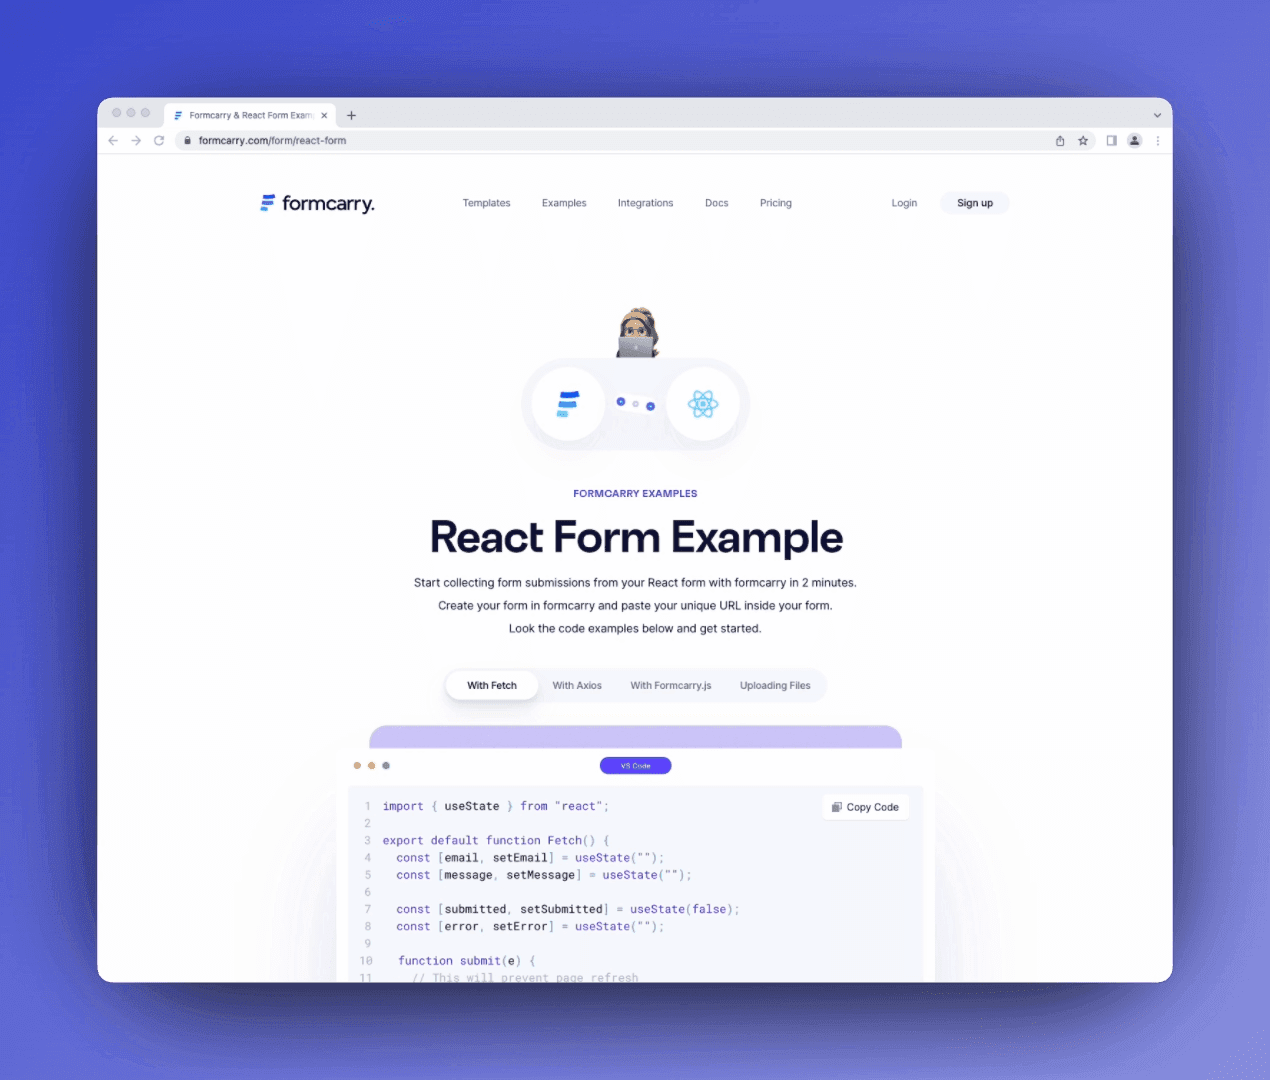
Start collecting form submissions from your React form with formcarry in 2 minutes.
Create your form in formcarry and paste your unique URL inside your form.
Look the code examples and detailed tutorial below and get started.
With Fetch
With Axios
With Formcarry.js
Uploading Files
VS Code
Copy Code
1import{ useState }from"react";23exportdefaultfunctionFetch(){4const[email, setEmail]=useState("");5const[message, setMessage]=useState("");67const[submitted, setSubmitted]=useState(false);8const[error, setError]=useState("");910functionsubmit(e){11// This will prevent page refresh12 e.preventDefault();1314// replace this with your own unique endpoint URL15fetch("https://formcarry.com/s/XXXXXXX",{16method:"POST",17headers:{18"Content-Type":"application/json",19Accept:"application/json"20},21body:JSON.stringify({email: email,message: message })22})23.then((res)=> res.json())24.then((res)=>{25if(res.code===200){26setSubmitted(true);27}else{28setError(res.message);29}30})31.catch((error)=>setError(error));32}3334if(error){35return<p>{error}</p>;36}3738if(submitted){39return<p>We've received your message, thank you for contacting us!</p>;40}4142return(43<formonSubmit={submit}>44<labelhtmlFor="email">Email</label>45<input46id="email"47type="email"48value={email}49onChange={(e)=>setEmail(e.target.value)}50required51/>5253<labelhtmlFor="message">Message</label>54<textarea55id="message"56value={message}57onChange={(e)=>setMessage(e.target.value)}58/>5960<buttontype="submit">Send</button>61</form>62);63}
Step-by-step guide
How to build React contact form
What is React
React is a Javascript library for building user interfaces. It lets you create reusable components so that your code is easy to read and maintain.
Formcarry works with React, let us guide you through how can you use formcarry in react.
Before getting started
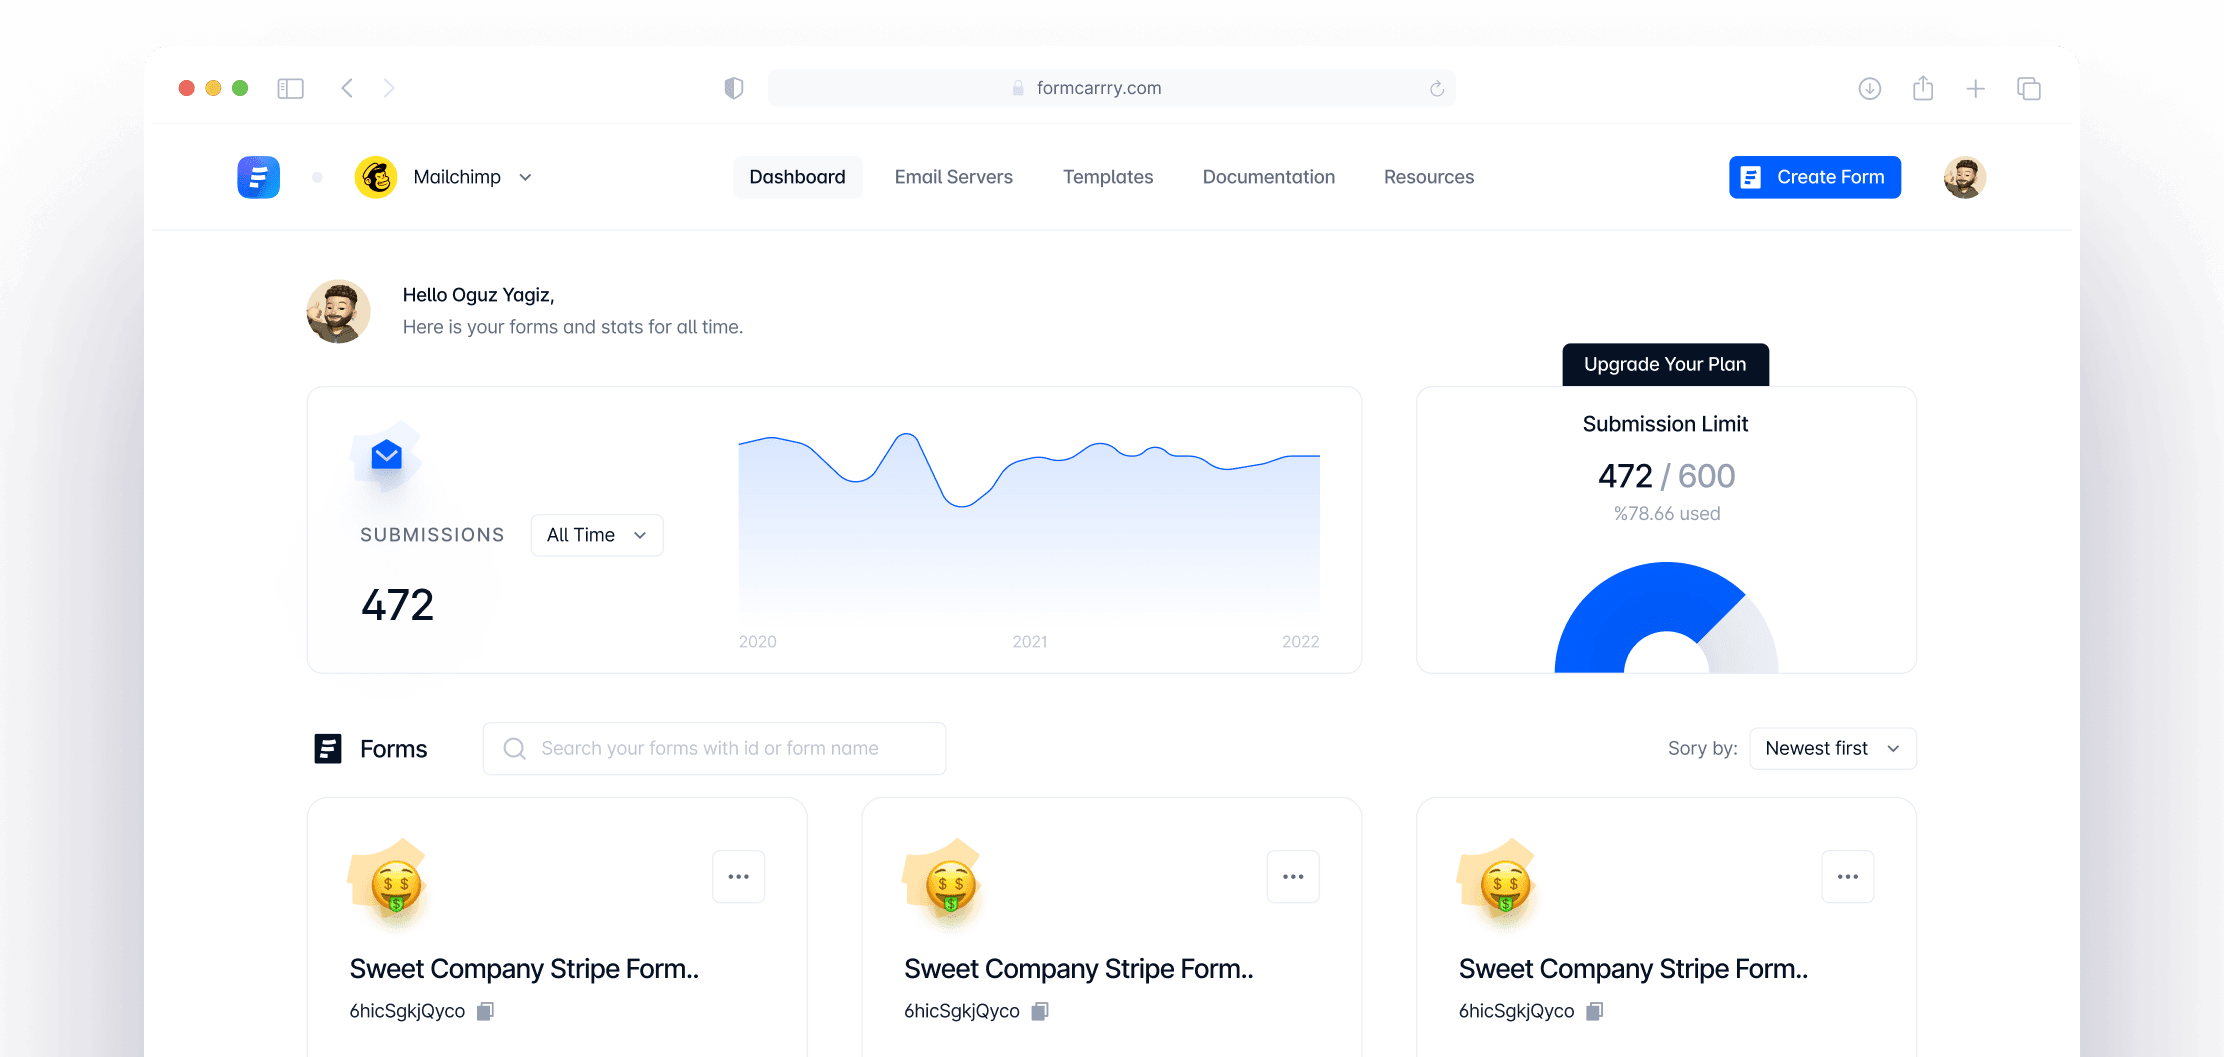
1- Create your form endpoint
Go to formcarry dashboard and create your first form, land on Setup section of your form then copy your unique endpoint URL.
💡 Each form has unique endpoint URL to it’s own, so make sure that you are using the right endpoint URL, otherwise you won’t get messages.
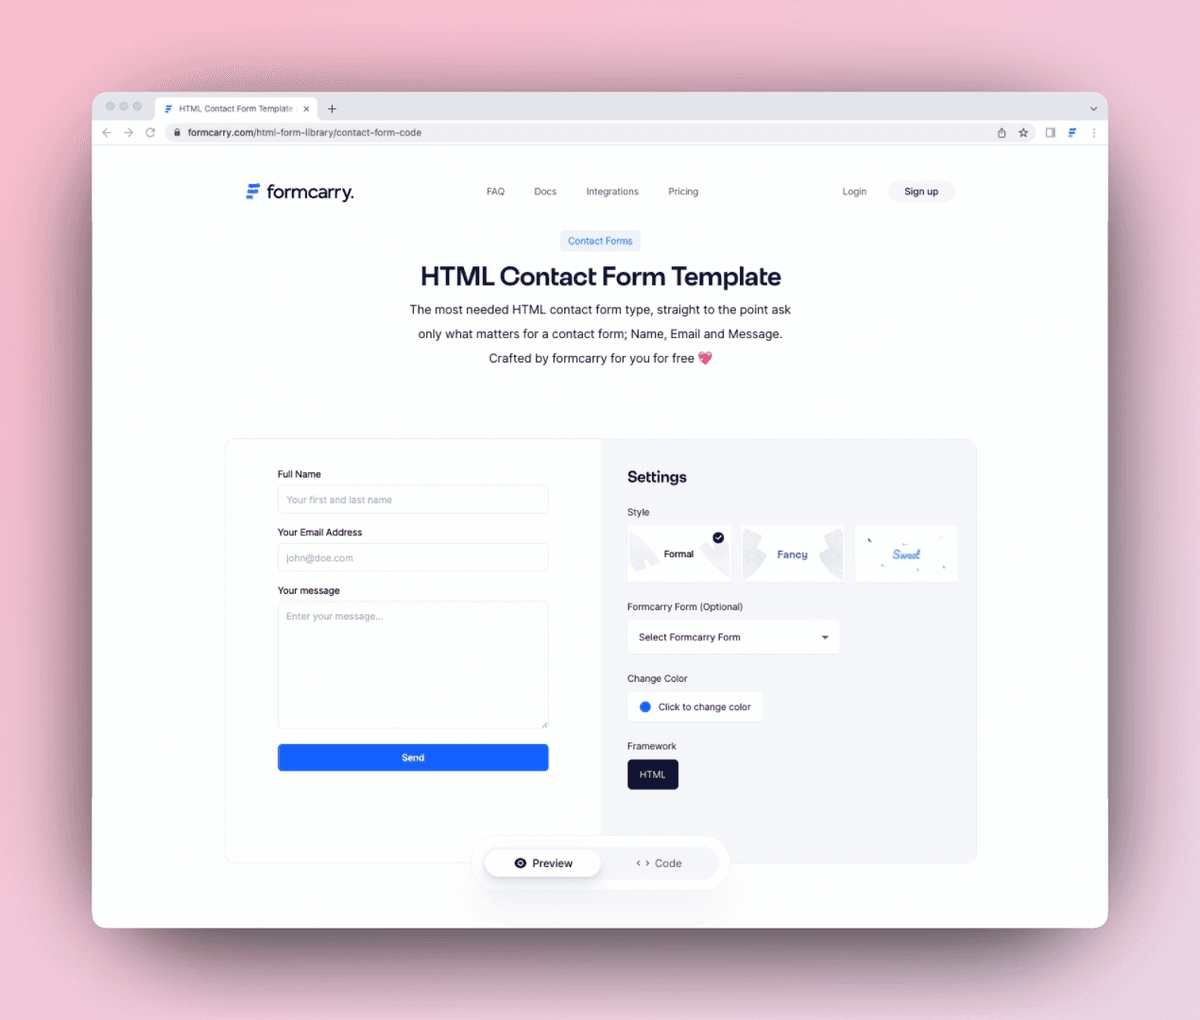
2- Create a HTML form
Check out our free contact form generator if you don’t have any written HTML form yet, by using this free tool you can customize and create a working contact form that works with formcarry without any further configuration
Formcarry setup with React using Fetch
Fetch is native API, so every app can use it without any installation, the steps are fairly simple.
VS Code
Copy Code
1import{ useState }from"react";23exportdefaultfunctionFetch(){4const[email, setEmail]=useState("");5const[message, setMessage]=useState("");67const[submitted, setSubmitted]=useState(false);8const[error, setError]=useState("");910functionsubmit(e){11// This will prevent page refresh12 e.preventDefault();1314// replace this with your own unique endpoint URL15fetch("https://formcarry.com/s/XXXXXXX",{16method:"POST",17headers:{18"Content-Type":"application/json",19Accept:"application/json"20},21body:JSON.stringify({email: email,message: message })22})23.then((res)=> res.json())24.then((res)=>{25if(res.code===200){26setSubmitted(true);27}else{28setError(res.message);29}30})31.catch((error)=>setError(error));32}3334if(error){35return<p>{error}</p>;36}3738if(submitted){39return<p>We've received your message, thank you for contacting us!</p>;40}4142return(43<formonSubmit={submit}>44<labelhtmlFor="email">Email</label>45<input46id="email"47type="email"48value={email}49onChange={(e)=>setEmail(e.target.value)}50required51/>5253<labelhtmlFor="message">Message</label>54<textarea55id="message"56value={message}57onChange={(e)=>setMessage(e.target.value)}58/>5960<buttontype="submit">Send</button>61</form>62);63}
Copied example to clipboard 👏
Formcarry setup with React using Axios
Below you will see the code that works using Axios, which is a library to perform HTTP requests, it’s fairly simple.
The code will show success or error message, and ready to work.
VS Code
Copy Code
1import{ useState }from"react";2importaxiosfrom"axios";34exportdefaultfunctionApp(){5const[email, setEmail]=useState("");6const[message, setMessage]=useState("");78const[submitted, setSubmitted]=useState(false);9const[error, setError]=useState("");1011functionsubmit(e){12// This will prevent page refresh13 e.preventDefault();1415 axios
16.post(17// replace this with your own unique endpoint URL18"https://formcarry.com/s/XXXXXXX",19{20email: email,21message: message
22},23{24headers:{25Accept:"application/json"26}27}28)29.then((res)=>{30// success http code31if(res.data.code===200){32setSubmitted(true);33}else{34setError(res.data.message);35}36});37}3839if(error){40return<p>{error}</p>;41}4243if(submitted){44return<p>We've received your message, thank you for contacting us!</p>;45}4647return(48<formonSubmit={submit}>49<labelhtmlFor="email">Email</label>50<input51id="email"52type="email"53value={email}54onChange={(e)=>setEmail(e.target.value)}55required56/>5758<labelhtmlFor="message">Message</label>59<textarea60id="message"61value={message}62onChange={(e)=>setMessage(e.target.value)}63/>6465<buttontype="submit">Send</button>66</form>67);68}
Copied example to clipboard 👏
Uploading files with React
Formcarry supports normal file uploads or base64 encoded strings. here’s an example of traditional way;
VS Code
Copy Code
1importReact,{ useRef }from"react"23constForm=()=>{4// create a Ref to access our form element5const formRef =useRef(null)67constsendFormData=async(event)=>{8// this will prevent your form to redirect to another page.9 event.preventDefault();1011if(!formRef.current){12console.log('something wrong with form ref')13return14}1516// get our form data17const formData =newFormData(formRef.current)1819// add some additional data if you want20// formData.append('language', window.navigator.language)2122fetch('https://formcarry.com/s/{Your-Unique-Endpoint}',{23method:'POST',24body: formData,25headers:{26// you don't have to set Content-Type27// otherwise it won't work due to boundary!28Accept:'application/json'29}30})31// convert response to json32.then(r=> r.json())33.then(res=>{34console.log(res);35});36}3738return(39// bind formRef to our form element40<formref={formRef}onSubmit={sendFormData}>41<labelhtmlFor="nameInput">Name</label>42<inputtype="text"id="nameInput"name="name"/>4344<labelhtmlFor="messageInput">Message</label>45<textareaid="messageInput"name="message"></textarea>4647<labelhtmlFor="pictureInput">Picture</label>48<inputtype="file"id="pictureInput"name="picture"/>4950<buttontype="submit">Submit</button>51</form>52)53}5455exportdefaultForm
Copied example to clipboard 👏
INSTALLATION
How to setup React contact form
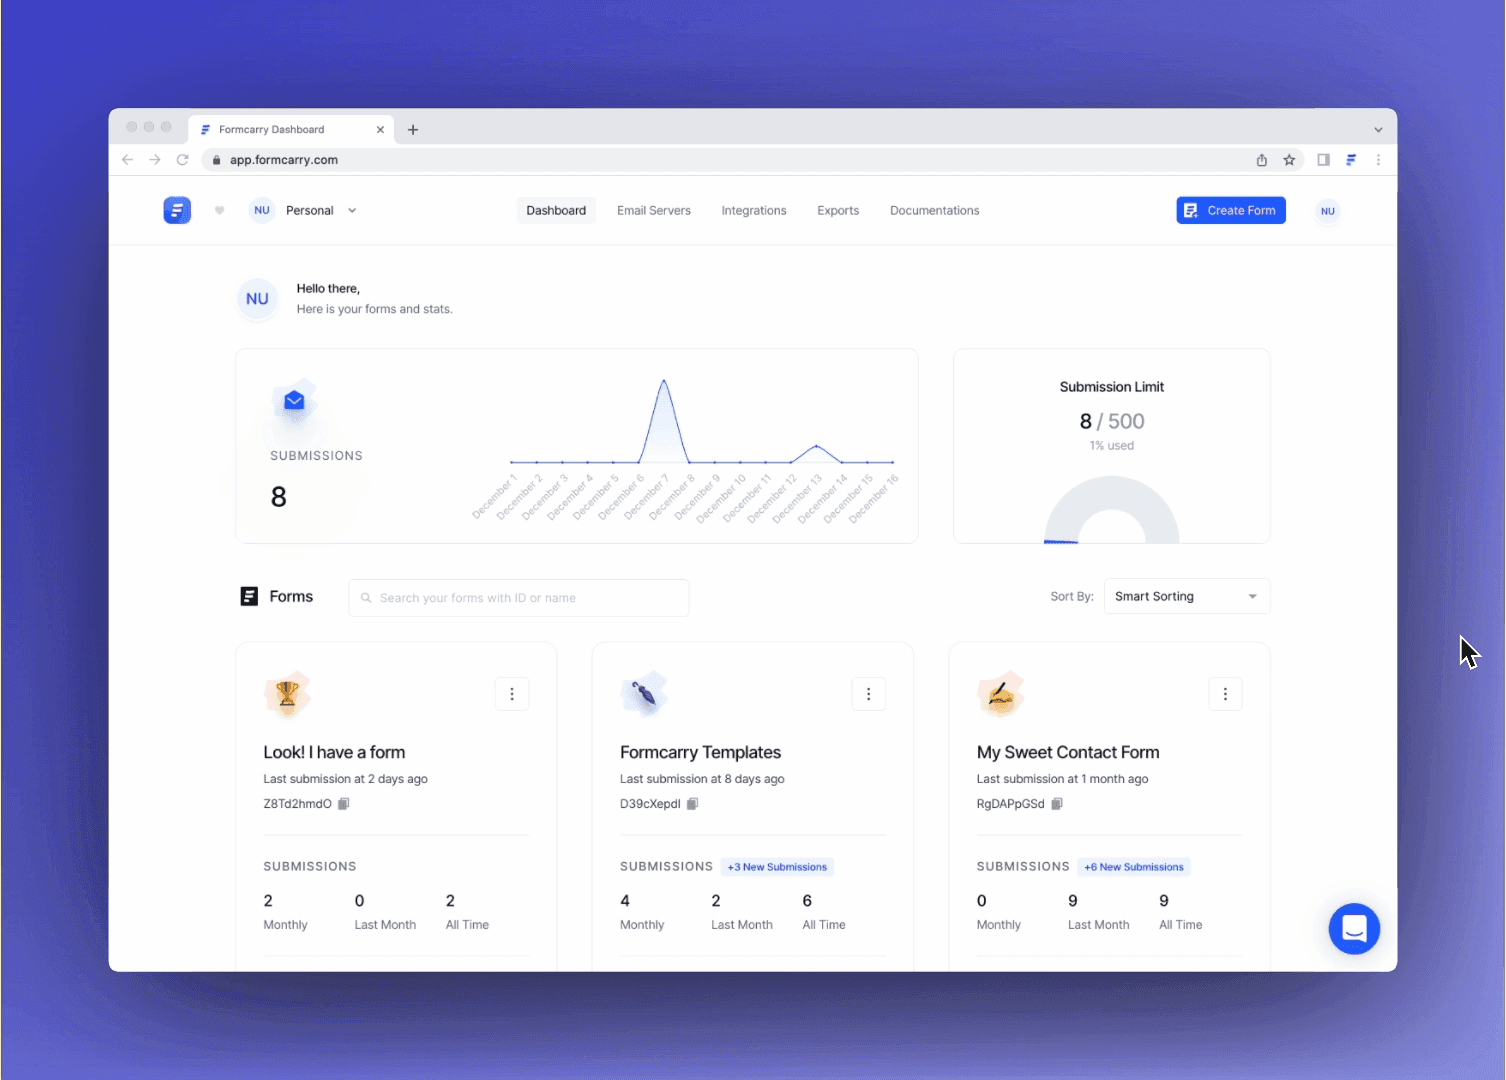
1
Sign up to formcarry to create your first form API endpoint then copy your endpoint
You can follow the steps like in the video above 👆 Save your endpoint to somewhere, you are going to use it in 3rd step.
2
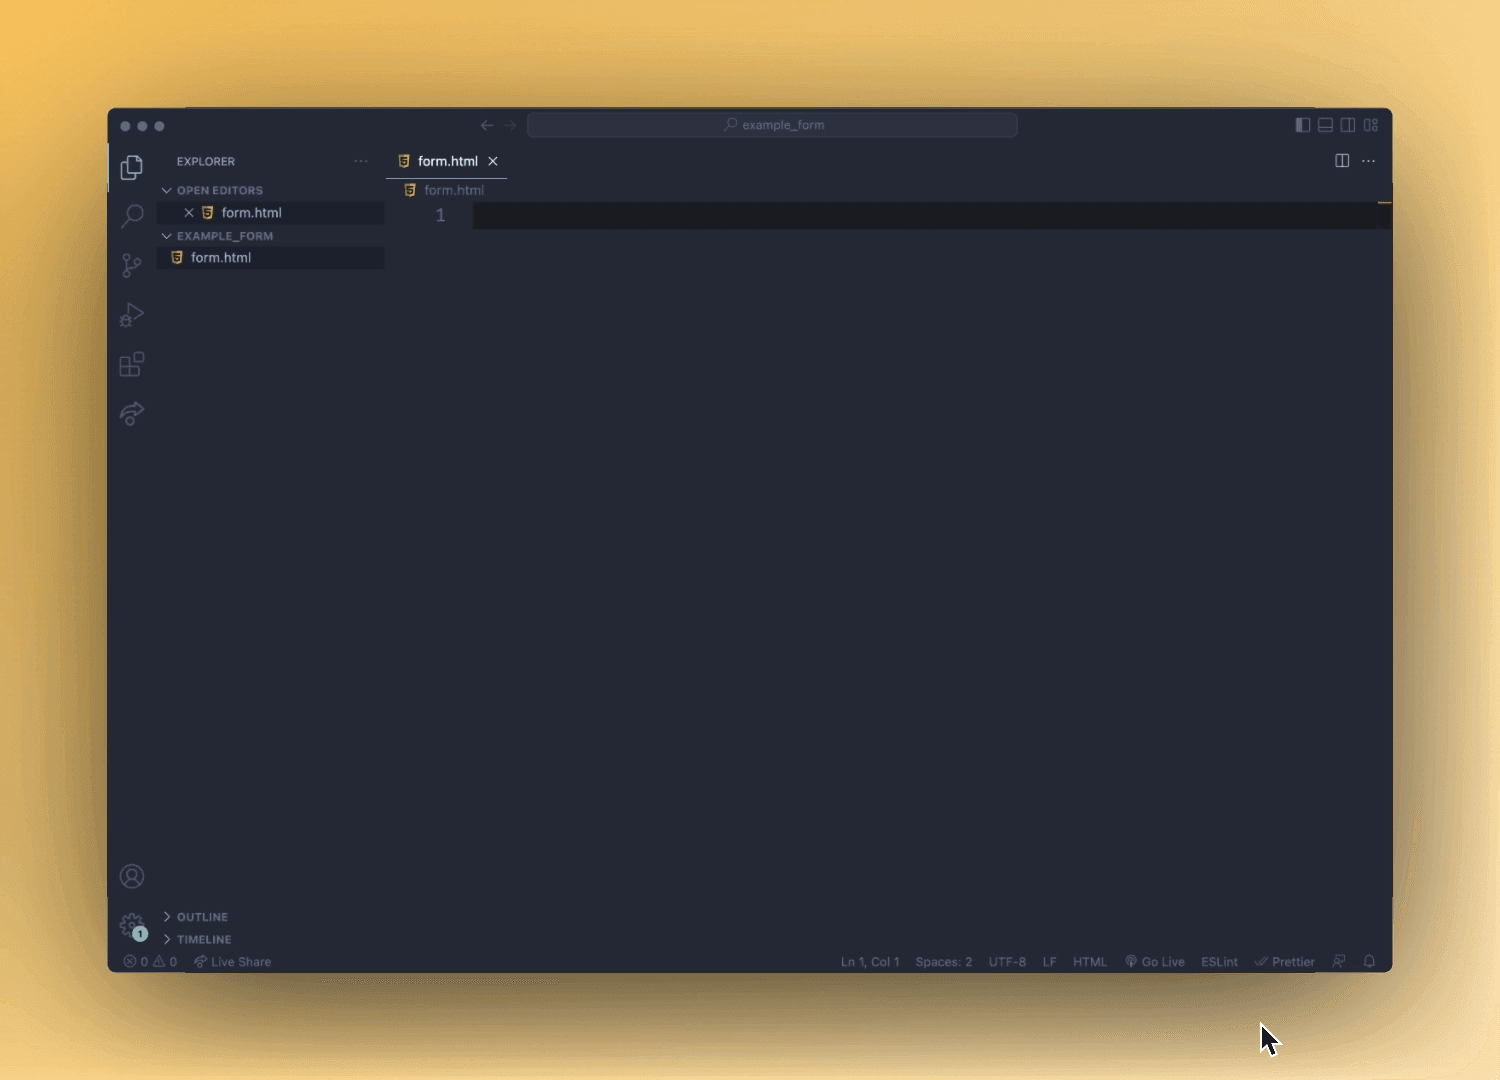
Copy the example code.
If you are in rush and want to quickly test it, consider using CodeSandbox to quickly test the code.
3
Paste the code and replace the form API endpoint that you got in 1st step.
Take the endpoint that you got from 1st step then replace the test endpoint inside the example code with your form endpoint.
4
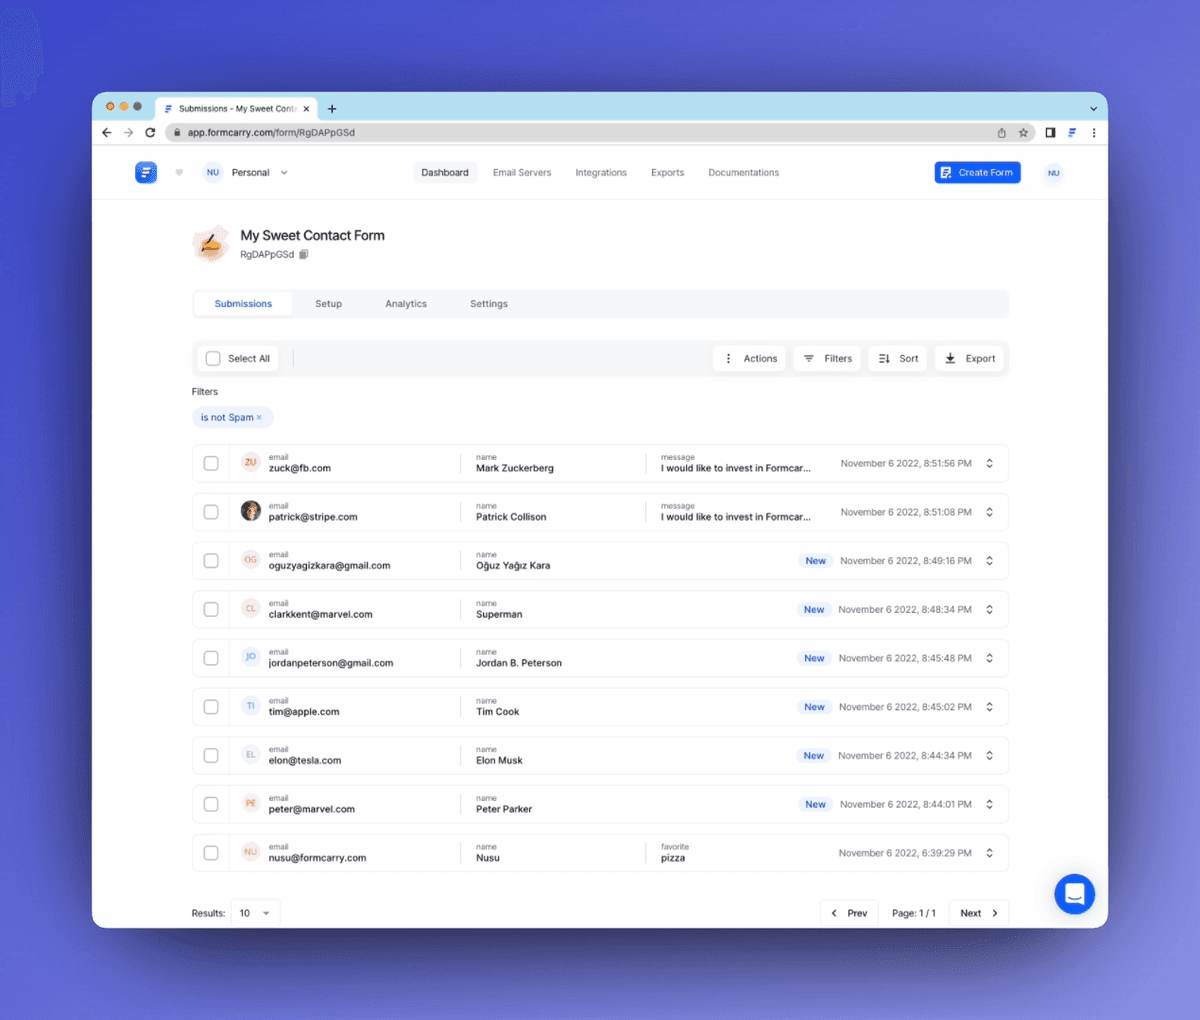
Collect submissions ✨
Now you are ready to collect submissions from your React form.